
Blogs
Can You Paint Shower Door Frames? Pros & DIY Tips
Tired of outdated or discolored shower door frames? You might be wondering if a fresh coat of paint can revive their look. The short answer is yes, you can paint shower door frames, but it's a project that requires careful consideration and the right approach to ensure durability and a lasting finish in a high-moisture environment. This guide will walk you through the pros, cons, and essential tips for tackling this bathroom refresh.
Is painting shower door frames a good idea?
Painting shower door frames can be an excellent way to update the look of your bathroom without the expense and hassle of a full renovation. However, it's not without its challenges.
Pros of painting shower door frames:
Cost-Effective Renovation: Painting is significantly cheaper than replacing entire shower doors or frames, offering a budget-friendly way to update your bathroom's aesthetic.
Aesthetic Upgrade: You can transform the look of an old, tarnished, or builder-grade frame to match your current decor, whether you're aiming for a modern black, a classic white, or a custom color.
Increased Property Value: A refreshed bathroom can subtly increase the appeal and perceived value of your home.
DIY Friendly: With the right materials and techniques, it's a project that many homeowners can confidently tackle themselves.
Cons of painting shower door frames:
Durability Concerns: Shower frames are exposed to constant moisture, humidity, and cleaning agents. If not properly prepped and painted with the right products, the paint can peel, chip, or mildew.
Intensive Preparation: Achieving a long-lasting finish requires meticulous cleaning, sanding, and priming. Skipping these steps will almost certainly lead to failure.
Time-Consuming: The multiple steps of preparation, painting, and drying/curing times mean this isn't a quick project.
Potential for Imperfections: Any drips, brush strokes, or missed spots will be noticeable in a high-traffic, well-lit area like a shower.
Verdict: Painting shower door frames is a good idea if you are committed to thorough preparation, using high-quality, appropriate paints and primers, and allowing ample drying and curing time. If you cut corners, you'll likely be disappointed with the results.
What paint works best on metal shower frames
Choosing the correct type of paint is paramount for success when working with metal shower frames in a wet environment.
Adhesion Promoting Primer: This is non-negotiable. Look for primers specifically designed for metal, or "bonding primers," which help the topcoat adhere strongly to slick, non-porous surfaces like aluminum or anodized metal. These often contain rust inhibitors.
Examples: Zinsser B-I-N Shellac-Base Primer or Rust-Oleum Zinsser Bulls Eye 1-2-3 Primer.
Epoxy Paint: This is the gold standard for durability in wet conditions. Epoxy paints create an extremely hard, water-resistant, and chemical-resistant finish. They are often a two-part system (paint + hardener) that you mix just before use.
Pros: Exceptional durability, moisture resistance, adhesion.
Cons: Can be more challenging to work with (shorter pot life), stronger fumes, typically fewer color options.
Oil-Based Enamel Paint: High-quality oil-based enamels offer excellent durability and a hard finish. They level well, reducing brush marks.
Pros: Very durable, smooth finish, good water resistance (when cured).
Cons: Strong fumes, longer drying/curing times, requires mineral spirits for cleanup, can yellow over time with light colors.
High-Quality Water-Based Acrylic-Urethane Enamel: Modern water-based formulations, especially those labeled "cabinet and trim" or "urethane modified," have come a long way in terms of durability and moisture resistance. The urethane adds flexibility and toughness.
Pros: Easier cleanup, lower VOCs/fumes, faster drying between coats, good color retention.
Cons: May not be quite as hard as epoxy, but very close for many applications. Still requires a bonding primer.
Examples: Sherwin-Williams Emerald Urethane Trim Enamel or Benjamin Moore Advance.
Recommendation: For the absolute best durability, epoxy paint is ideal. However, for a more DIY-friendly option with good results, a high-quality water-based acrylic-urethane enamel over a specialized metal bonding primer is an excellent choice. Avoid standard latex wall paints, as they will not withstand the conditions.
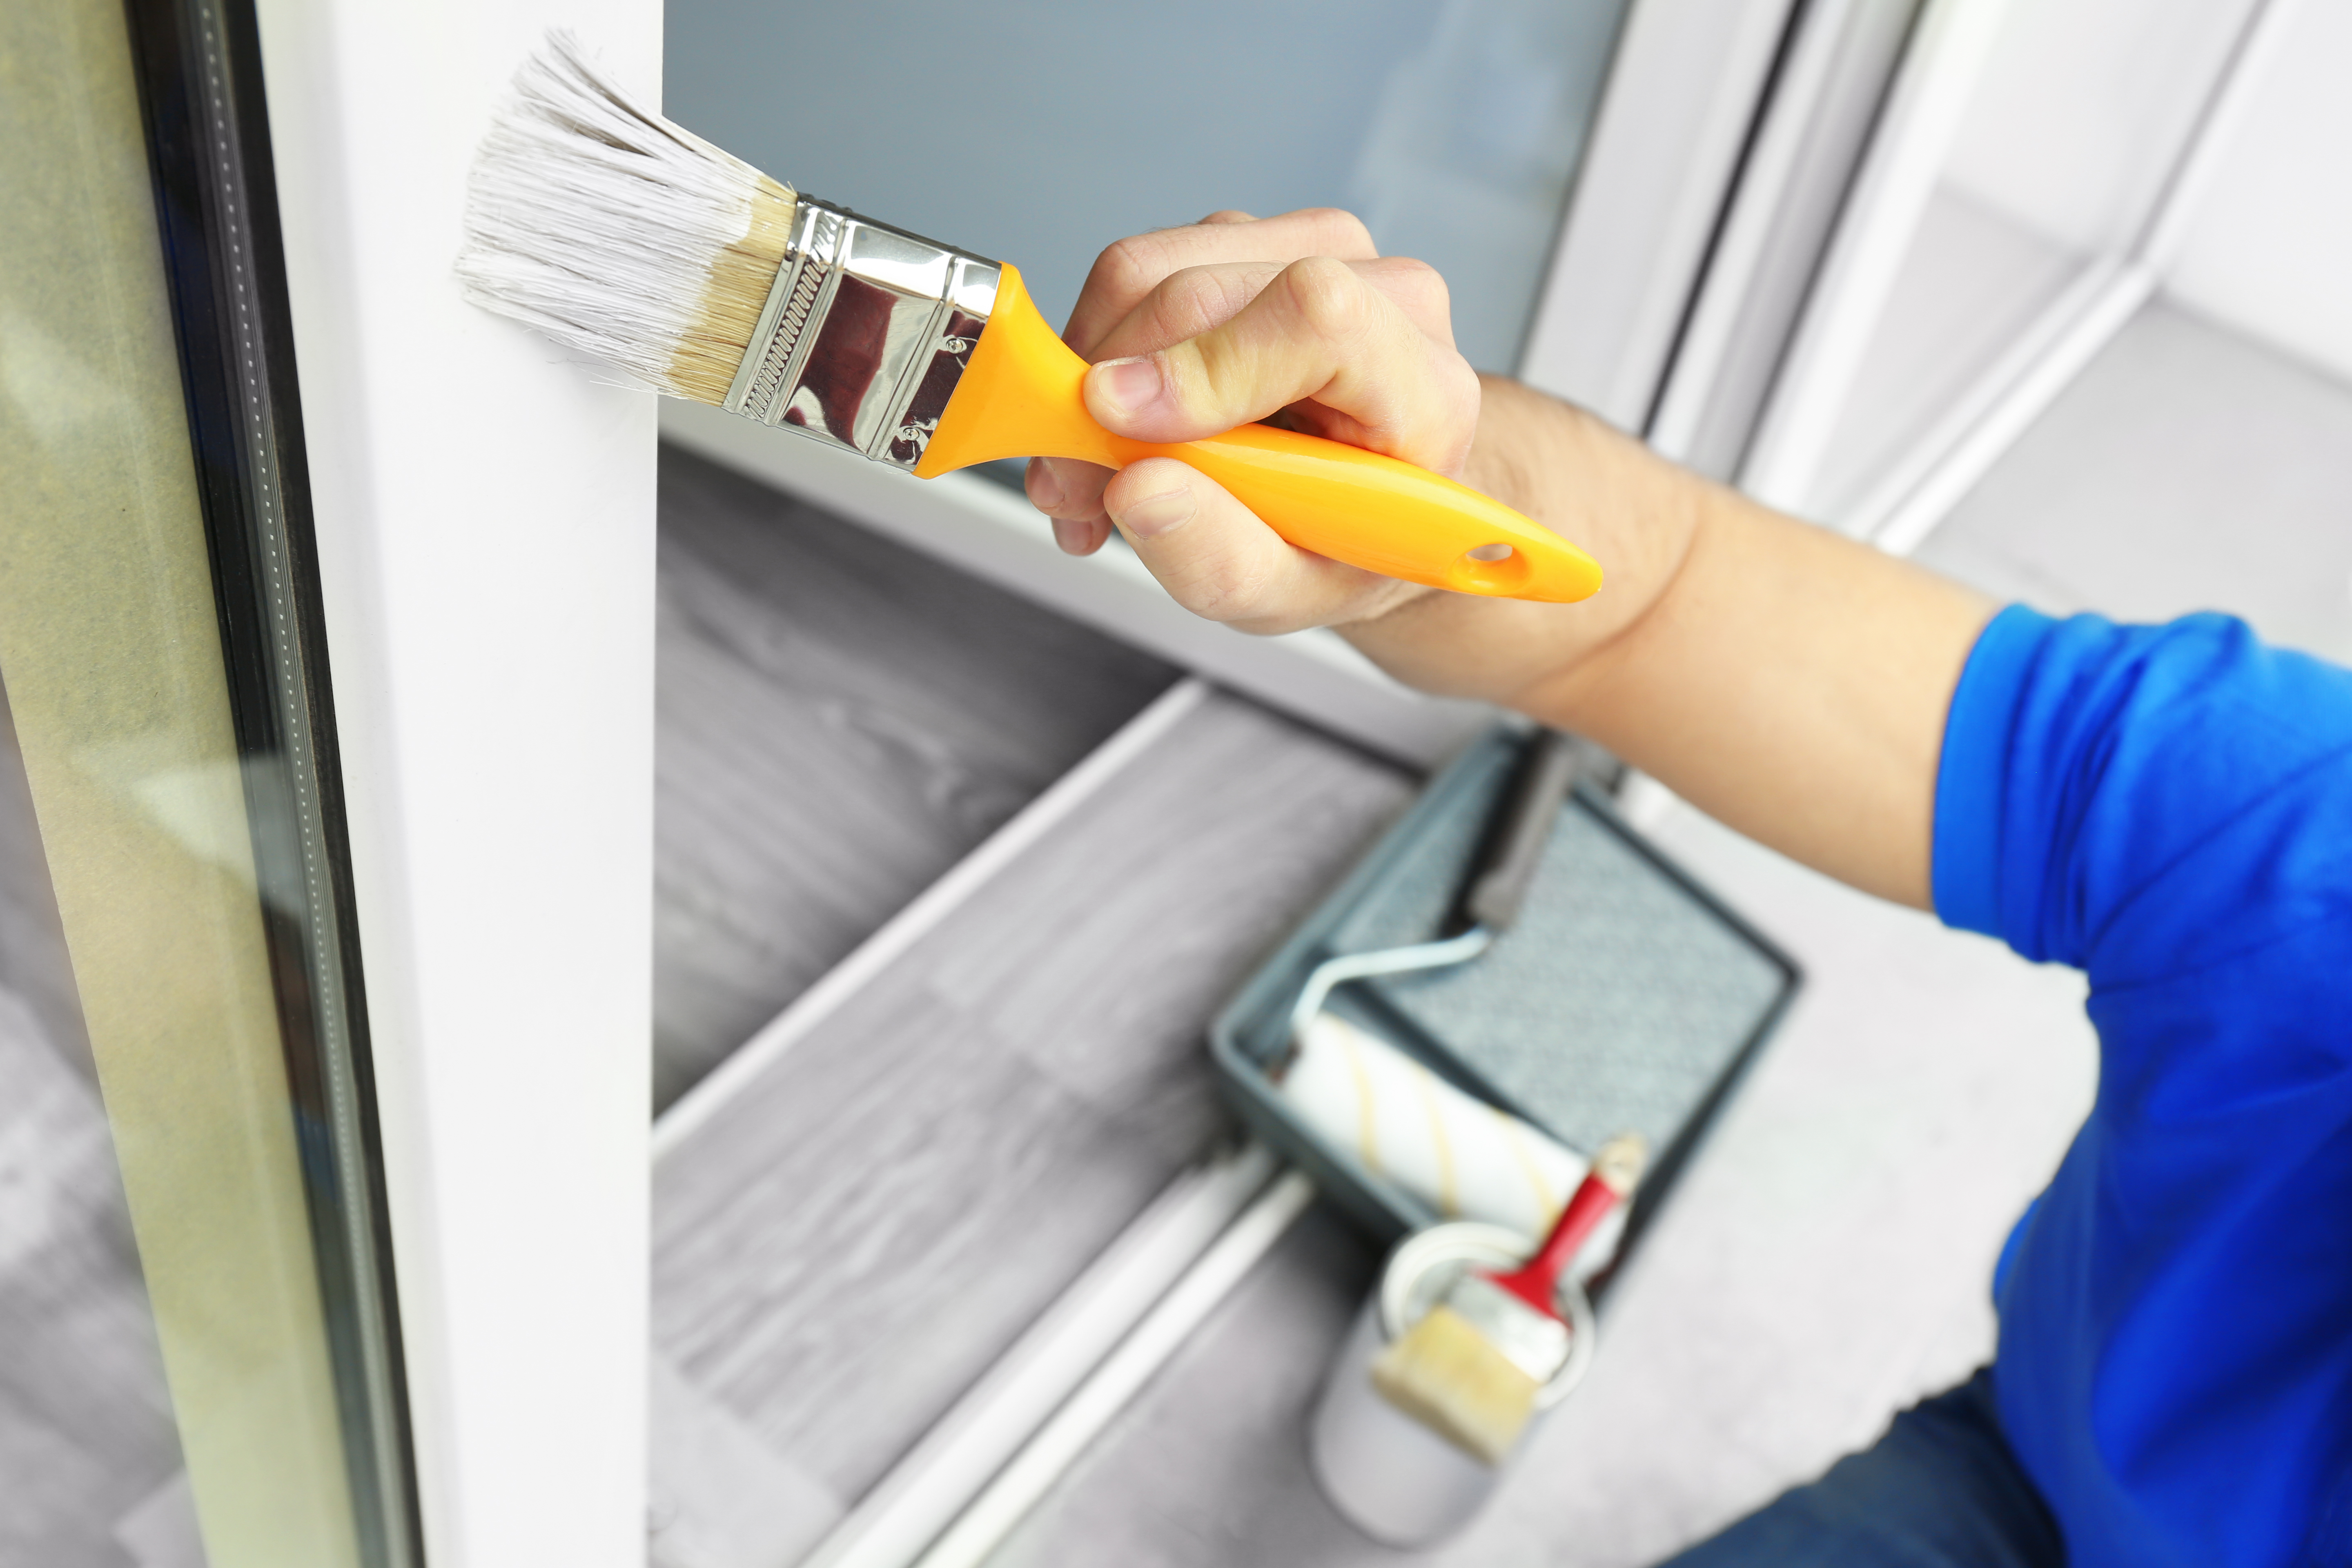
Step-by-step guide to painting shower door frames
Follow these steps carefully for a successful and long-lasting paint job.
Preparation is Paramount:
Remove Doors (if possible): For the best results, remove the shower doors from their frames. This allows you to work on the frames more easily and get a more even finish. If removal isn't feasible, tape off the glass and surrounding areas meticulously.
Ventilate: Open windows, turn on the bathroom fan, and consider using a portable fan to ensure good air circulation, especially with primers and oil-based paints.
Clean Thoroughly: This is the most crucial step. Use a strong bathroom cleaner or a 50/50 white vinegar and water solution to remove all soap scum, mildew, and grime. Pay extra attention to corners and crevices. Rinse thoroughly with clean water.
Degrease: After cleaning, wipe down the entire frame with a degreaser (like TSP substitute) or rubbing alcohol to remove any residual oils or cleaner film. Allow to dry completely.
Sand: Lightly scuff the entire metal frame with fine-grit sandpaper (220−320 grit). This creates a "tooth" for the primer to adhere to. Don't press too hard; you're not trying to remove the existing finish, just roughen it. For anodized aluminum, this step is particularly important.
Clean Dust: Wipe away all sanding dust with a tack cloth or a damp (not wet) microfiber cloth, then let it dry.
Prime the Frame:
Apply Metal Bonding Primer: Stir the primer well. Using a high-quality synthetic brush for corners and a small foam roller or foam brush for flat surfaces, apply a thin, even coat of your chosen metal bonding primer. Ensure full coverage.
Avoid Over-Application: Thin coats prevent drips and promote better adhesion.
Dry Time: Allow the primer to dry completely according to the manufacturer's instructions, typically 1−4 hours.
Light Sand (Optional): If the primer coat has any minor imperfections or feels rough, lightly sand with 320−400 grit sandpaper, then wipe clean with a tack cloth.
Paint the Frame:
Apply First Coat of Paint: Stir your chosen epoxy or enamel paint thoroughly. Using a clean, high-quality brush or foam roller, apply a thin, even coat of paint.
Work in Sections: Work systematically, focusing on one section at a time to maintain a wet edge and avoid lap marks.
Dry Time: Allow the first coat to dry completely. This can take several hours for water-based paints and 8−24 hours for oil-based or epoxy paints. Refer to the product label.
Apply Subsequent Coats: Apply a second (and potentially a third) thin coat for full, opaque coverage. Repeat drying times between each coat.
Cure Time: This is critical for shower frames. While the paint may be dry to the touch, it needs to fully "cure" to reach maximum hardness and water resistance. This can take anywhere from 3−7 days for water-based enamels, and up to days for some oil-based or epoxy paints. Avoid exposing the frames to water during the cure time. Read your paint's label for specific instructions.
Reassemble and Seal (if applicable):
Reinstall Doors: Once the paint is fully cured, carefully reattach the shower doors to the frames.
Caulk/Seal: Reapply fresh silicone caulk along the edges where the frame meets the tile or shower pan to create a watertight seal. Use a mildew-resistant silicone caulk.
Common mistakes to avoid in bathroom paint jobs
To ensure your painted shower frame looks great and lasts, steer clear of these common pitfalls:
Inadequate Cleaning: Any residual soap scum, grime, or mildew will prevent paint from adhering properly, leading to peeling. Clean, degrease, and wipe thoroughly.
Skipping Primer: A standard wall primer won't cut it. You need a specialized metal bonding primer to ensure the paint sticks to the slick surface of the frame.
Rushing Drying/Curing Times: The biggest mistake! Paint may feel dry to the touch, but it hasn't fully hardened. Exposing it to moisture too soon will compromise its durability and cause it to fail. Be patient.
Applying Thick Coats: Thick coats are prone to drips, uneven drying, and an inferior finish. Multiple thin coats are always better.
Not Sanding (or Sanding Incorrectly): Lightly scuffing the surface creates the necessary texture for the primer to grip. Don't skip it, but also don't aggressively sand through existing finishes down to bare metal unless the frame is severely corroded.
Poor Ventilation: Fumes from primers and paints can be strong and harmful. Ensure adequate airflow throughout the process.
Using the Wrong Type of Paint: Standard interior paints are not designed for the constant moisture and abrasion of a shower environment. Always use highly durable, moisture-resistant paints like epoxy or acrylic-urethane enamels.
Not Recaulking: After painting, old caulk must be removed and new mildew-resistant silicone caulk applied to ensure a watertight seal and prevent water from getting behind the frame.
Alternatives to painting for a fresh look
If painting seems too daunting or isn't the right fit for your situation, here are a couple of alternatives for refreshing your shower door frames:
Vinyl Wrapping: Specialized vinyl films can be applied to metal frames to change their color and finish. This offers a durable, waterproof solution with a wide range of aesthetic options, including metallic or wood-grain looks. It requires a steady hand for application but can be removed later.
Hardware Replacement: Sometimes, simply updating the handles, hinges, or other metal hardware on your shower door can significantly modernize its appearance without touching the frame itself.
Professional Refinishing/Powder Coating: For a truly factory-quality finish, you could have the frames professionally removed and sent out for powder coating or specialized refinishing. This is the most durable option but also the most expensive and disruptive.
Deep Cleaning and Polishing: If your frames are just dull or slightly tarnished, a thorough deep clean with appropriate metal cleaners and polishes might be all they need to shine again.
Painting shower door frames is a rewarding DIY project that can dramatically enhance your bathroom's appeal. With meticulous preparation, the right materials, and a commitment to patience, you can achieve a durable and beautiful finish that will last for years.
Ready to transform your bathroom? Find the perfect high-durability paints, primers, and supplies at your local hardware store, or consult with a painting professional for expert advice on your project!

About Masterpiece Painter
For over 17 years Masterpiece Painter, has been serving communities all around New England. Let us help you make your wishes come true by turning your property into a Masterpiece
Get a Quote
Contact Us


© copyright 2023 All Rights Reserved.