
Blogs
How to Paint Dining Room Chairs – Step-by-Step Furniture Makeover
Dining room chairs endure daily use, from countless meals to family gatherings, often showing wear and tear long before the dining table itself. Rather than replacing a beloved set, giving them a fresh coat of paint is a transformative project that can inject new life into your dining space and match your evolving decor. Learning how to paint dining room chairs requires patience and precision, but with the right prep, paint, and protection, you can achieve a durable, professional finish that stands up to spills and scuffs for years to come.
Choosing paint types for wood furniture
The type of paint you select is crucial for the longevity and appearance of your painted dining chairs, which are high-traffic items.
Acrylic-Latex Paint (Water-Based):
Pros: Low odor, quick drying, easy cleanup with water, and excellent color retention. Modern formulations designed for furniture, cabinets, or trim offer good durability.
Cons: May require a durable topcoat for maximum protection against chips and scratches on high-use surfaces like chair seats and arms.
Best For: Most DIYers. Versatile and user-friendly.
Oil-Based Paint (Alkyd):
Pros: Extremely durable, provides a very hard and smooth finish, excellent chip and scratch resistance. Self-levels well, minimizing brush marks.
Cons: Strong odor, long drying times, cleanup requires mineral spirits, and can yellow over time, especially lighter colors.
Best For: Maximum durability and a super-smooth finish, if you can manage the fumes and longer dry times.
Chalk Paint:
Pros: Requires minimal prep (often no sanding or priming), creates a matte, velvety finish, and is excellent for distressed or vintage looks.
Cons: Very porous and not durable on its own for high-traffic chairs. Absolutely requires a strong protective topcoat (wax or polycrylic) to prevent chips and stains.
Furniture Spray Paint:
Pros: Can achieve a very smooth, factory-like finish with no brush marks. Ideal for intricate spindles or details. Fast drying.
Cons: More expensive per square foot than brush-on paint. Requires very good ventilation and careful technique to avoid drips and runs. Limited color selection compared to brush-on paints.
Best For: Achieving ultra-smooth finishes on detailed chair parts. Requires specific type designed for furniture.
Recommendation: For most dining chairs, a high-quality acrylic-latex cabinet/furniture paint with a satin or semi-gloss sheen, properly primed and protected with a durable clear topcoat, offers the best balance of ease of use and long-lasting results.
Necessary prep: Sanding, priming, taping
Thorough preparation is paramount for ensuring paint adhesion and a smooth, professional finish.
Disassemble: Remove chair seats (if upholstered) and any detachable components. This makes painting easier and ensures coverage in all nooks and crannies.
Clean Thoroughly: Wipe down every part of the chair with a degreasing cleaner (e.g., TSP substitute or an all-purpose cleaner). Chairs accumulate hand oils, food residue, and dust. Rinse with a clean, damp cloth and let dry completely.
Repair Imperfections: Fill any dents, scratches, or gouges with wood filler. Let dry, then sand smooth. Tighten any loose joints if necessary.
Sanding:
Purpose: To create a "tooth" for the paint to grip onto, ensuring adhesion and smoothness.
Grit: Start with 120-150 grit for existing finishes or rough spots, then move to 180-220 grit for overall smoothing. For intricate areas, use sanding sponges or flexible sanding pads.
Technique: Sand evenly over all surfaces. On previously finished or glossy chairs, focus on dulling the shine.
Remove Dust: After sanding, use a shop vacuum or a stiff brush to remove loose dust. Follow with a tack cloth or a damp microfiber cloth to pick up all fine dust particles. Surfaces must be impeccably clean.
Prime (Essential!):
Why: Primer seals the wood, prevents tannin bleed-through (especially important with dark woods), blocks stains, and provides excellent adhesion for your topcoat, preventing chips.
Type: Use a high-quality bonding primer or a stain-blocking primer, particularly if going from a dark wood to a light paint color.
Application: Apply 1-2 thin, even coats of primer. Allow ample drying time between coats according to the manufacturer's instructions. Lightly sand with 220+ grit sandpaper after the first prime coat, and wipe clean.
Tape Off (If Needed): If parts of the chair are not being painted (e.g., upholstery edges, metal accents), meticulously tape them off with painter's tape.
Achieving a smooth finish: Brush vs. Spray
The application method significantly impacts the final smoothness of your chair's finish.
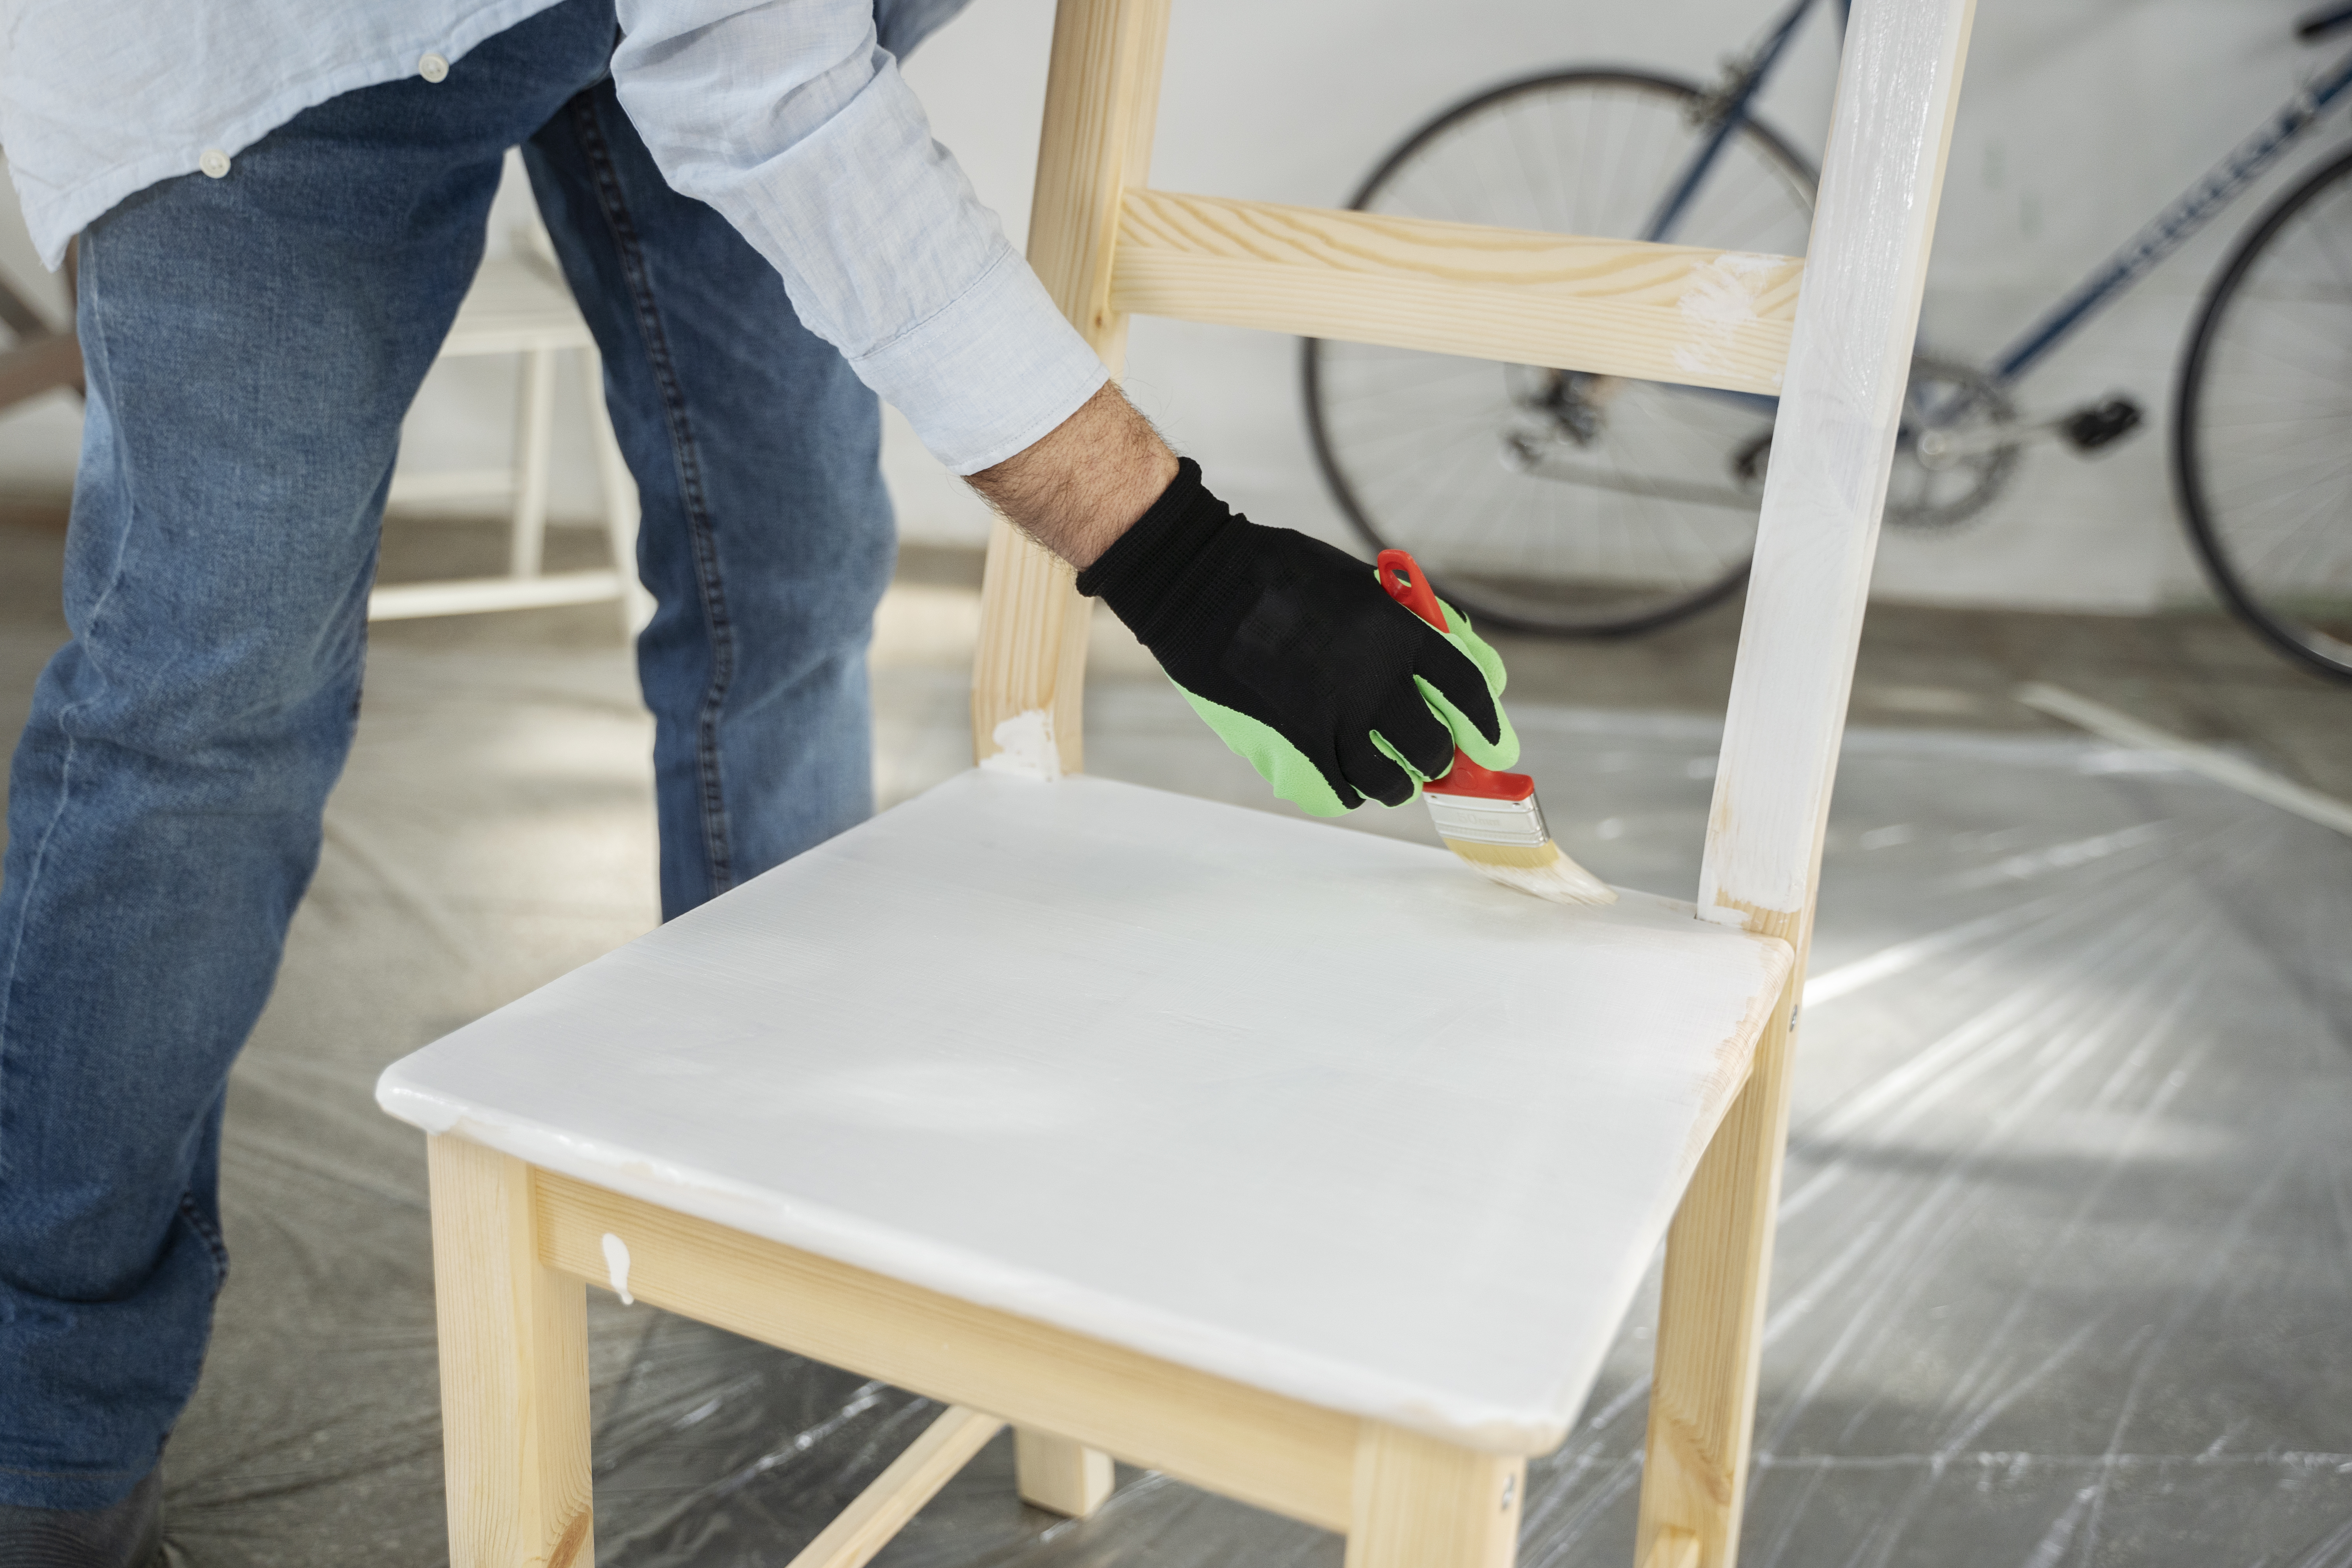
Brush Application:
Tools: Use a high-quality angled sash brush (1.5-2 inches) for most areas. Small foam brushes can work for tight spots.
Pros: Good control, less overspray, economical for small projects.
Cons: Can leave brush marks if not applied carefully, especially with faster-drying paints.
Technique: Apply thin, even coats. Load the brush moderately and use long, smooth strokes, flowing with the direction of the wood grain where possible. Maintain a "wet edge" to avoid lap marks.
Spray Application (Aerosol or Paint Sprayer):
Tools: High-quality aerosol spray paint for furniture, or a dedicated HVLP (High Volume Low Pressure) paint sprayer.
Pros: Achieves a super smooth, factory-like finish with no brush marks. Ideal for intricate spindles, slats, or carvings. Faster application for multiple chairs.
Cons: Requires excellent ventilation (often outdoor use recommended). Significant overspray means meticulous masking of surrounding areas. More expensive per ounce/gallon than brush-on paint. Aerosols have limited color choices. Requires practice to avoid drips and runs.
Technique (for both): Apply multiple thin coats rather than one thick coat. Hold the can/sprayer at a consistent distance (usually 8-12 inches) and use steady, overlapping passes. Start and stop your spray off the piece.
Pro Tip: For maximum smoothness, combine methods. Use a brush for hard-to-reach areas and corners, then immediately follow with a small foam roller on any flat surfaces (like the seat or backrest panel) to minimize brush strokes. Always allow adequate drying time between coats.
Sealing for durability (wax, polyurethane)
A protective topcoat is essential for painted dining chairs to withstand daily wear, spills, and cleaning.
Polycrylic (Recommended for most uses):
Type: Water-based clear coat.
Pros: Dries crystal clear (non-yellowing), fast-drying, low odor, easy cleanup. Offers excellent protection against scratches, scuffs, and moisture. Great for all paint types, especially lighter colors.
Cons: Slightly less hard than oil-based polyurethane, but still very robust for chairs.
Application: Apply 2-4 thin, even coats using a foam brush or applicator. Lightly sand with very fine-grit (320-400 grit) sandpaper between coats for maximum smoothness and adhesion, and wipe off all dust.
Polyurethane (Oil-Based):
Type: Oil-based clear coat.
Pros: Extremely durable, very hard finish, excellent scratch and chemical resistance.
Cons: Tends to yellow over time (noticeable on white or light colors), strong odor, long drying times, cleanup with mineral spirits.
Application: Similar to polycrylic, but ensure very good ventilation.
Furniture Wax (for Chalk/Milk Paint):
Type: A soft wax designed to protect porous chalk or milk paints.
Pros: Creates a soft, low-sheen finish. Easy to apply.
Cons: Less durable and water-resistant than polycrylic/polyurethane. Requires reapplication periodically. Can be susceptible to heat marks or water rings without proper care.
Application: Apply with a soft cloth, buff into the paint, and wipe away excess. Apply multiple thin coats. For dining chairs, wax alone may not be sufficient without very diligent maintenance; consider a polycrylic over wax for added durability on the seat.
Curing Time: Allow the final topcoat to cure fully (often several days to a week or more, depending on the product and humidity) before heavy use. "Dry to touch" is not "fully cured."
Distressing or two-tone styles for flair
Beyond a single solid color, consider these design techniques to add unique character to your dining chairs.
Distressing/Shabby Chic:
Concept: Creating an aged, worn look by strategically removing paint to reveal the underlying wood or a previous paint layer.
Techniques: Lightly sand edges, corners, and raised areas after painting. Or apply wax/petroleum jelly to areas before painting, then scrape off paint after it dries.
Best For: Chalk paint or milk paint, which are designed to distress beautifully. Requires a protective topcoat.
Two-Tone Style:
Concept: Painting different parts of the chair different colors for visual interest.
Popular Combos:
Seat a different color than the frame: Often a darker or contrasting color for the seat, with a lighter color on the legs/back.
Legs a different color than the rest: For a modern or playful look.
Painted frame with a stained wood seat: Combines the best of both worlds.
Execution: Use painter's tape for clean lines between colors. Paint one section, let it dry and tape it off, then paint the next.
Adding Accents: Consider painting just the finials, tips of legs, or a small detail a contrasting metallic or bold color.
Painting dining room chairs is a labor of love that yields impressive results. With proper preparation, the right paint and topcoat, and careful application, your chairs will not only look stunning but also withstand the demands of daily life. If you're looking to transform your dining space or any other room with a professional touch, Masterpiece Painter brings expertise and artistry to every piece.
Ready to give your dining chairs a chic new look? Contact Masterpiece Painter today for a consultation and bring your vision to life!

About Masterpiece Painter
For over 17 years Masterpiece Painter, has been serving communities all around New England. Let us help you make your wishes come true by turning your property into a Masterpiece
Get a Quote
Contact Us


© copyright 2023 All Rights Reserved.