
Blogs
How to Paint Vinyl Siding | Step-by-Step DIY Guide
Vinyl siding offers durability and low maintenance, making it a popular choice for home exteriors. However, over time, even the most robust vinyl can fade, show signs of wear, or simply no longer match your home's evolving aesthetic. Instead of the significant investment of replacing your siding, painting offers a transformative and cost-effective solution. With advancements in paint technology, painting vinyl siding is not only possible but can yield stunning, long-lasting results. Masterpiece Painter provides this complete step-by-step guide to help you achieve a professional-quality finish.
Can you paint vinyl siding?
Absolutely, yes! The ability to paint vinyl siding has revolutionized exterior home renovations. The key lies in using the correct type of paint and meticulous preparation.
The main concern with painting vinyl used to be its tendency to absorb heat, which could lead to warping or buckling, especially with darker colors. However, modern paint formulations, specifically those labeled "vinyl-safe" or with "Cool Color Technology," utilize reflective pigments that prevent the siding from overheating. This innovation allows homeowners a wider range of color choices, even darker shades, without risking damage to the vinyl.
When done correctly, painting your vinyl siding can give your home a fresh, updated look, boost its curb appeal, and extend the life of your existing siding, all at a fraction of the cost of full replacement.
What paint works on vinyl?
Choosing the right paint is paramount for a successful and durable finish on vinyl siding. Do not use standard house paint.
100% Acrylic Latex Exterior Paint: This is the only recommended type of paint for vinyl siding. Acrylic paints are inherently flexible, allowing them to expand and contract along with the vinyl siding as temperatures change, which prevents cracking, chipping, and peeling. They also offer excellent adhesion and durability for exterior exposure.
"Vinyl-Safe" or "Cool Color Technology": This feature is non-negotiable, especially if you plan to choose a paint color darker than your current siding. These paints contain special heat-reflective pigments that prevent the vinyl from absorbing excessive heat from the sun. This protects the vinyl from warping, buckling, or sagging. Always confirm this designation on the paint can. If a paint does not explicitly state "vinyl-safe" or "for use on vinyl," stick to colors that are lighter than or very similar in lightness to the original vinyl to minimize heat absorption risks.
Sheen: A satin or eggshell finish is generally recommended for vinyl siding. These sheens offer a subtle luster that helps hide minor imperfections, are easier to clean, and provide good durability. Flat finishes can absorb more dirt, while high-gloss can highlight every flaw.
Primer (Often Optional): Many quality "vinyl-safe" acrylic paints are self-priming. However, for heavily faded, chalky, or stained vinyl, a dedicated acrylic primer (also compatible with vinyl) can offer extra adhesion and help create a more uniform base for the topcoat. Always check the primer manufacturer's compatibility with your chosen vinyl paint.
How to prep the surface
Thorough surface preparation is the most critical factor for a long-lasting vinyl siding paint job. Do not cut corners here.
Inspect and Repair Siding:
Walk around your entire home and meticulously inspect all vinyl panels.
Repair any loose, cracked, warped, or severely damaged panels. Small holes or cracks can be patched with vinyl repair compounds. However, extensively damaged or warped sections should be replaced, as paint cannot fix these structural issues. Ensure all panels are securely fastened.
Remove Obstructions:
Carefully remove all external elements that you don't want painted: shutters, downspouts, light fixtures, mailboxes, house numbers, etc. Keep all hardware organized for easy reinstallation.
Clean the Siding – Thoroughly! This is paramount. Vinyl siding accumulates dirt, grime, mildew, and a chalky residue (oxidation) over time. All of this must be removed for paint to adhere properly.
Rinse: Begin by rinsing the entire siding with a garden hose or a low-pressure power washer (exercise extreme caution with pressure washers – keep the nozzle moving and far enough away to avoid forcing water behind the panels or damaging the vinyl).
Wash: Prepare a cleaning solution. You can use a mild household detergent (like dish soap) mixed with water, or a specialized vinyl siding cleaner. For stubborn mildew or mold, use a solution of 1 part bleach to 3 parts water, or an oxygen-bleach cleaner.
Scrub: Apply the cleaning solution with a soft-bristled brush or a soft-bristled extension pole brush. Work in sections, scrubbing gently from the bottom up to prevent streaking. Pay close attention to textured areas and shaded spots where mold and dirt often accumulate.
Rinse Meticulously: This is the most crucial part of cleaning. Rinse the entire house thoroughly with clean water, working from top to bottom. Ensure all soap residue, bleach, and cleaning agents are completely removed. Any leftover residue will interfere with paint adhesion.
Allow to Dry Completely: The siding must be bone dry before you apply any paint. This usually takes 24 to 48 hours of dry, non-humid weather. Do not proceed if there's any dampness.
Mask Off Adjacent Areas:
Use high-quality painter's tape to meticulously mask off all areas you do not want to be painted. This includes windows, doors, trim (if painting a contrasting color), foundation, light fixtures you couldn't remove, and any adjacent brick or stone. Press the tape down firmly along the edges to prevent paint bleed.
Lay down drop cloths or plastic sheeting generously to protect landscaping, patios, driveways, and anything else below the work area from overspray or drips.
Step-by-step painting instructions
Once your siding is perfectly prepped, it's time to apply the paint.
Choose the Right Day:
Temperature: Paint when temperatures are between 50°F (10°C) and 85°F (29°C). Ensure temperatures will remain above 50°F for at least 24 hours after application.
Humidity: Opt for a day with low to moderate humidity (40-70%).
Wind: Avoid windy days to prevent overspray and dust/debris from sticking to wet paint.
Sunlight: Ideally, paint when the siding is in the shade. Painting in direct, hot sunlight can cause the paint to dry too quickly, leading to brush marks, blistering, or poor adhesion. Plan to follow the shade around the house.
Stir Paint Thoroughly: Before starting, stir your 100% acrylic exterior latex paint thoroughly to ensure pigments and binders are evenly distributed.
Apply Primer (If Using): If your surface requires a dedicated primer, apply one thin, even coat using a brush or roller. Follow the primer manufacturer's instructions for drying time before applying the topcoat.
Apply First Coat of Paint:
Application Method: For the most uniform and professional finish, a paint sprayer is often preferred for vinyl siding. If spraying, follow the manufacturer's directions for nozzle type, pressure, and distance. Apply with a steady, sweeping motion, overlapping each pass slightly.
Brushing/Rolling: If using brushes and rollers, use high-quality synthetic brushes for cutting in around windows, doors, and edges. Use a quality roller (with appropriate nap for textured siding) for the larger flat sections. Apply paint in thin, even coats, working from top to bottom in manageable sections to maintain a "wet edge" and avoid lap marks.
Allow Proper Drying Time:
DO NOT RUSH. Check the paint can for recommended recoat times between coats. This is crucial for proper adhesion and preventing issues like lifting or bubbling of subsequent coats.
Apply Second Coat (and Third if needed):
Once the first coat is dry to the touch, apply a second thin, even coat. This will ensure full coverage, consistent color, and maximum durability.
A third coat may be necessary if you're making a drastic color change (e.g., very dark to very light) or if the paint coverage isn't perfectly uniform.
Curing Time & Reassembly:
After the final coat, allow the paint to fully cure before stressing the surface or reattaching hardware. Drying time (dry to the touch) is different from curing time (paint reaches its full hardness and durability). Curing can take several days (24-72 hours or more), depending on the paint type and weather conditions.
Once fully cured (or while still slightly tacky to avoid paint lifting), carefully remove all painter's tape. Pull it off at a 45-degree angle. If the paint is fully dry, score the edge with a utility knife to prevent lifting dried paint.
Carefully reattach all removed shutters, fixtures, and hardware.
Common mistakes to avoid
Even with a detailed guide, common errors can derail your project. Be mindful of these pitfalls:
Inadequate Cleaning: The #1 reason for paint failure on vinyl. Any dirt, mildew, or chalky residue will prevent proper adhesion, leading to peeling.
Not Using "Vinyl-Safe" Paint (especially for dark colors): Using standard paint or a non-vinyl-safe dark color will cause the vinyl to absorb too much heat, leading to irreversible warping, buckling, and paint failure.
Painting a Damp Surface: Trapped moisture will cause bubbling, blistering, and poor adhesion. The siding must be bone dry.
Applying Thick Coats: Leads to drips, runs, uneven curing, and increased likelihood of peeling and bubbling. Multiple thin coats are always superior.
Ignoring Recoat and Curing Times: Rushing between coats or putting stress on uncured paint will compromise adhesion and durability.
Painting in Direct Hot Sun: Causes paint to dry too quickly, resulting in brush marks, poor flow, and compromised adhesion.
Skipping the Masking: Leads to messy lines, paint on windows and trim, and a significantly less professional look.
How long the finish will last
With proper preparation and the use of high-quality "vinyl-safe" acrylic paints, you can expect a durable and beautiful finish that lasts:
Average Lifespan: Typically, a professionally applied or meticulously DIY-painted vinyl siding job will last anywhere from 7 to 15 years.
Factors Influencing Longevity:
Quality of Paint: Premium paints offer better fade resistance and flexibility.
Preparation: Thorough cleaning and proper surface prep are the biggest factors.
Sun Exposure: Siding facing harsh, direct sunlight will naturally show wear sooner.
Application Quality: Even, thin coats and proper curing contribute to durability.
While not as long-lasting as brand-new vinyl siding (which can last 20-40+ years), a painted finish offers a remarkable lifespan for its significantly lower cost.
When to hire a professional
While painting vinyl siding is a rewarding DIY project, there are situations where trusting a professional painting contractor like Masterpiece Painter is the most prudent choice:
Extensive Siding Damage: If your vinyl has widespread cracking, warping, or brittle sections, a professional can assess if painting is truly viable or if replacement is the better long-term solution.
Complex Architectural Details: Homes with many gables, intricate trim, or hard-to-reach areas can be challenging and time-consuming for DIYers.
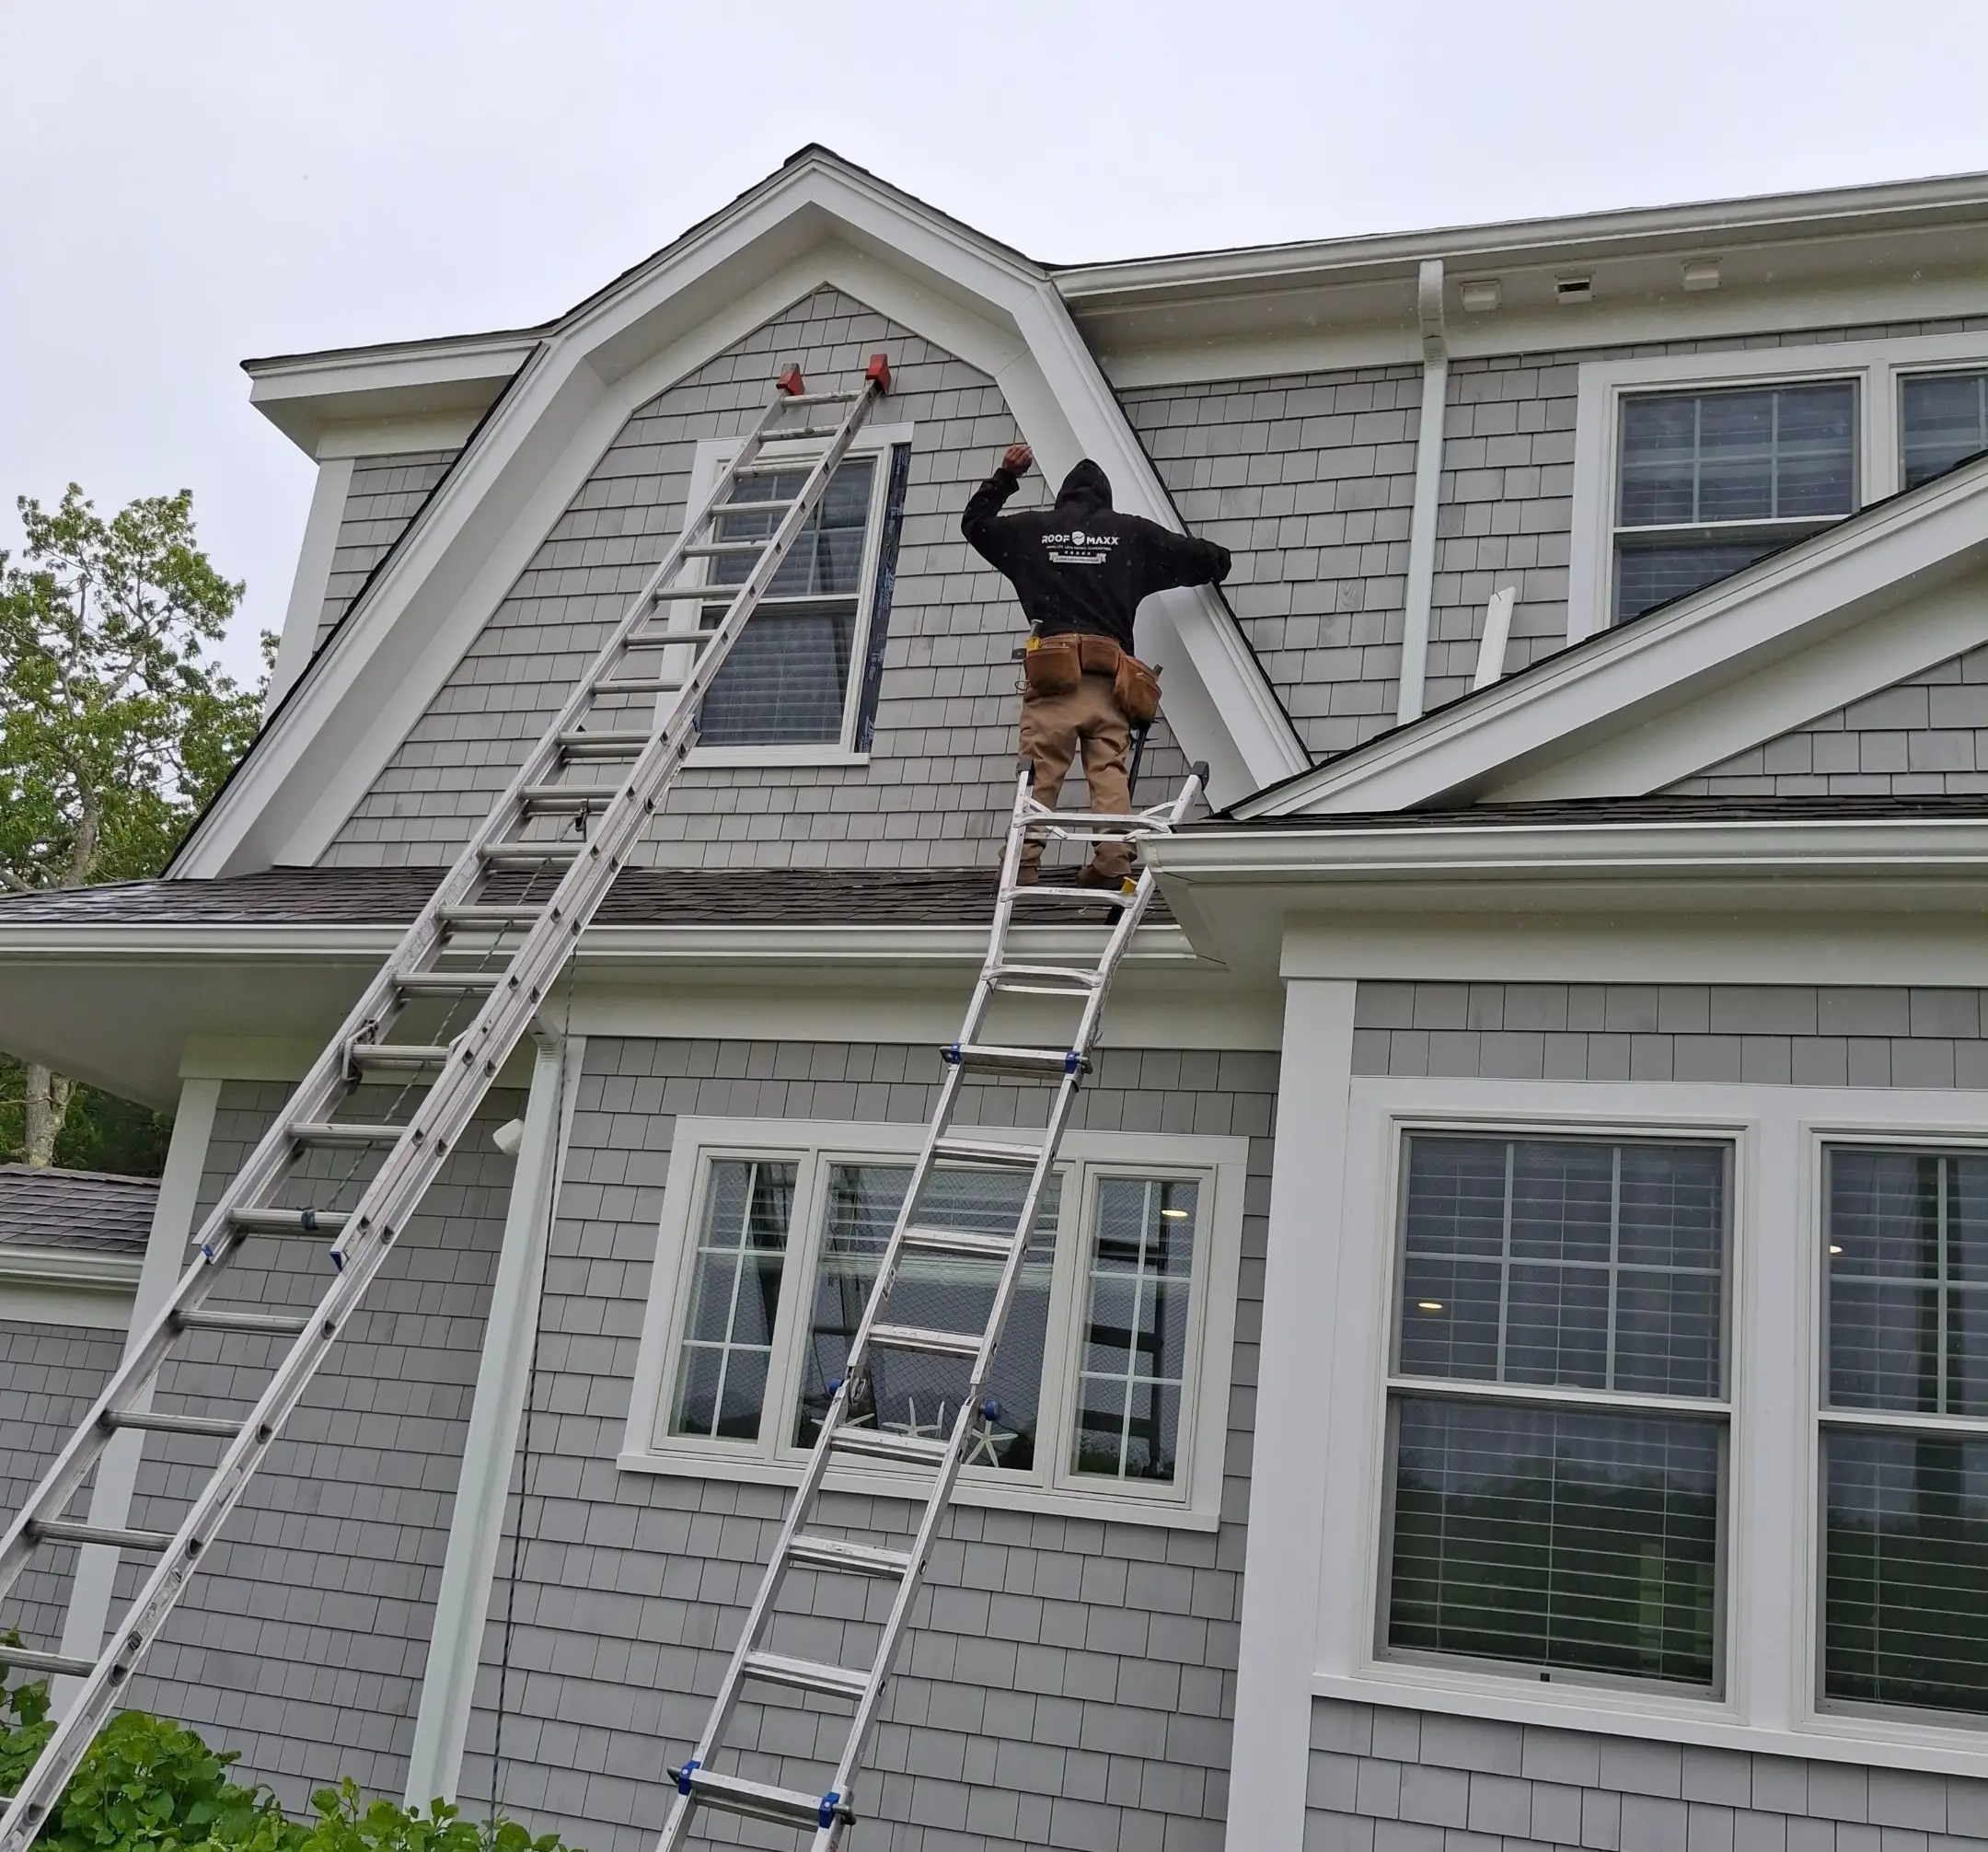
Safety Concerns: Painting multi-story homes or using tall ladders/scaffolding presents significant safety risks. Professionals have the necessary equipment and training.
Time Constraints: If you need the project completed efficiently without sacrificing weeks of your personal time.
Desire for a Flawless Finish: Professional painters possess the skill, tools (like advanced sprayers), and experience to deliver an impeccably smooth, even, and streak-free finish that truly looks factory-applied.
Uncertainty About Products or Techniques: If you're unsure about choosing the correct "vinyl-safe" paint, tackling specific prep challenges, or achieving optimal results, a professional ensures the job is done right the first time.
For a beautiful, durable, and expertly applied paint job that truly transforms your home's exterior, trusting the seasoned professionals at Masterpiece Painter ensures peace of mind and lasting satisfaction.
Ready to give your home's vinyl siding a stunning makeover? Contact Masterpiece Painter today for a consultation and a detailed quote to bring your vision to life!

About Masterpiece Painter
For over 17 years Masterpiece Painter, has been serving communities all around New England. Let us help you make your wishes come true by turning your property into a Masterpiece
Get a Quote
Contact Us


© copyright 2023 All Rights Reserved.