
Blogs
Painting a basement ceiling: Sprayer guide & tips
Basements often present unique design challenges, and the ceiling is no exception. For many homeowners, an unfinished basement ceiling with exposed ducts, pipes, and wiring can feel unsightly. Painting an open basement ceiling, especially with a dark color, is a popular and effective technique to hide the visual clutter, unify the space, and create a modern, industrial, or cozy aesthetic.
Why paint your basement ceiling (dark color hides grime, unifies space)
Hides Clutter and Imperfections: The primary reason to paint an open basement ceiling a dark color (like black, charcoal, or deep navy) is to make all the exposed pipes, wires, and ductwork visually recede. Dark colors absorb light, making these elements less noticeable and creating a cleaner, more unified look. It effectively camouflages the "guts" of the house.
Unifies the Space: Instead of a chaotic jumble of different-colored pipes and materials, a single, dark color creates a cohesive "lid" for the basement, making the space feel more finished and intentional.
Adds Depth and Mood: A dark ceiling can add a sense of depth and intimacy, creating a cozy and sophisticated atmosphere. This is particularly effective in basements used as media rooms, home gyms, or casual living areas.
Modern/Industrial Aesthetic: This technique is a hallmark of industrial-style design, embracing the exposed elements as part of the aesthetic rather than trying to hide them.
Safety & tools: sprayer, PPE, full-area approach
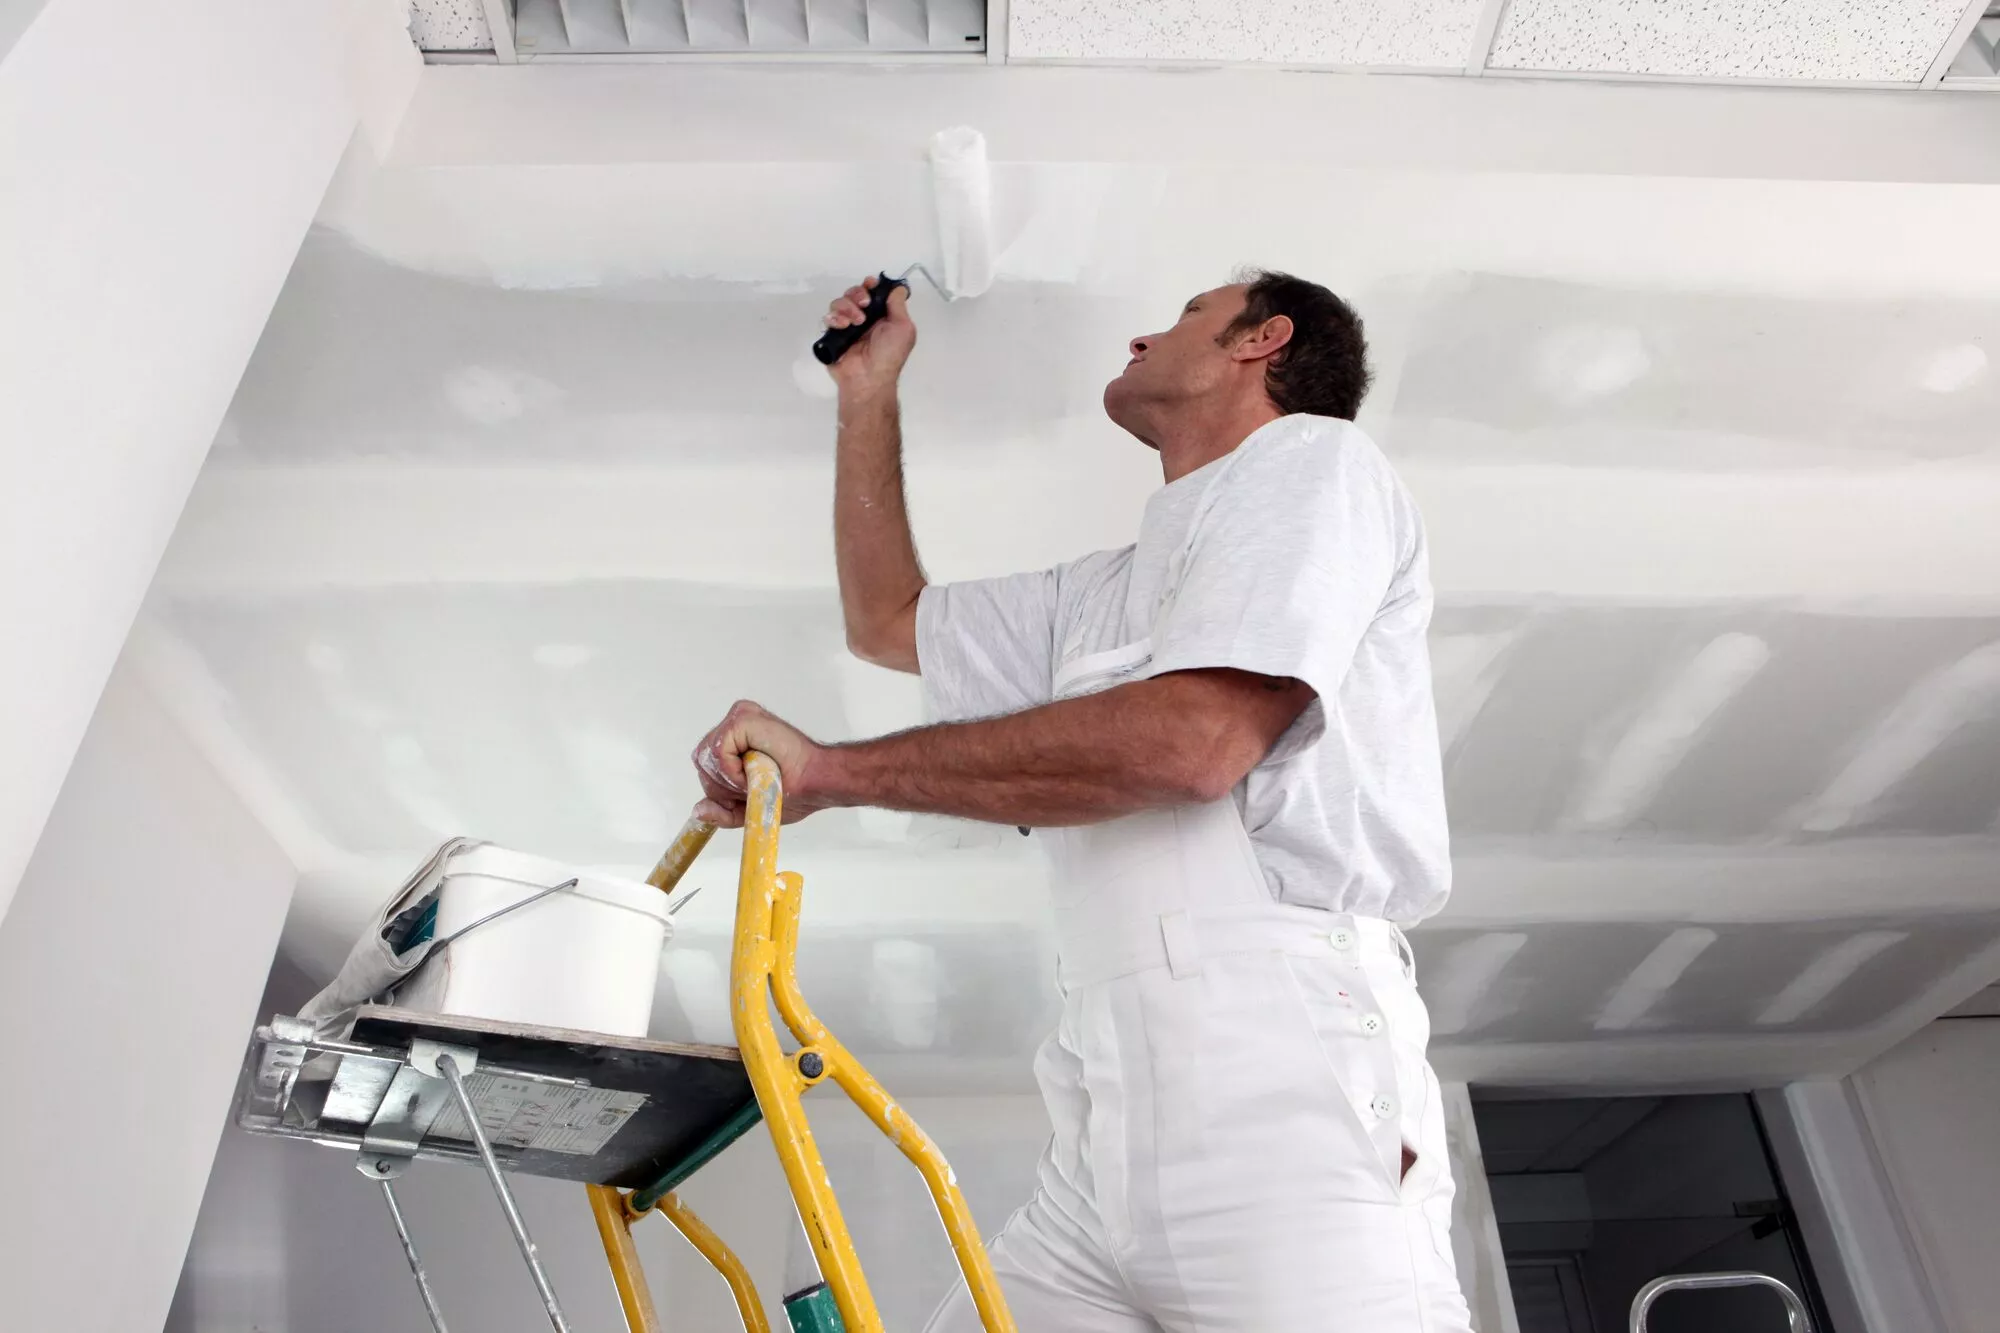
Safety First: Painting a ceiling, especially an open one, involves working overhead and potentially with sprayers.
Personal Protective Equipment (PPE): Wear a high-quality respirator mask (not just a dust mask) to protect against paint fumes and airborne particles, safety glasses or goggles, gloves, and old clothes/coveralls.
Ventilation: Ensure excellent ventilation. Open windows, use fans, and consider exhausting air to the outside.
Tools:
Paint Sprayer (Recommended): An airless paint sprayer is highly recommended for open ceilings. It provides the most efficient and uniform coverage on irregular surfaces. Renting one might be more cost-effective than buying for a single project.
Brushes/Rollers (for touch-ups/detail): You may still need brushes for cutting in around walls or touching up missed spots. A long-handled roller can be used for larger, flat sections if not spraying.
Ladders/Scaffolding: Safe and stable access to the entire ceiling area is crucial.
Drop Cloths/Plastic Sheeting: Lots of them! You'll need to cover every surface.
Prep: clear area, tape, cover floors
Thorough preparation is paramount when painting an open basement ceiling, especially if spraying.
Clear the Area: Remove everything from the basement that you possibly can.
Clean the Ceiling:
Dust & Debris: Use a shop vac with brush attachment or a stiff broom to thoroughly remove all dust, cobwebs, loose insulation, and debris from pipes, ducts, and wires.
Grease/Grime: For any greasy spots (e.g., near furnaces or utility sinks), clean with a degreaser solution and rinse.
Mold/Mildew: If you have any mold or mildew, address the moisture source first, then clean and treat the affected areas with a mold-killing solution. Allow to dry completely.
Tape & Mask:
Walls: Tape off the top perimeter of your walls precisely using high-quality painter's tape.
Windows/Doors: Cover all windows, doors, and permanent fixtures you don't want painted with plastic sheeting and tape.
Floors: Completely cover the entire floor with heavy-duty drop cloths or plastic sheeting. Spraying produces significant overspray, and any uncovered spots will be painted.
Furniture/Appliances: If anything cannot be removed, wrap it completely in plastic.
Cover Anything You Don't Want Sprayed: This includes light fixtures (remove bulbs), electrical outlets (tape off), and any other elements.
Paint selection: 100% acrylic or latex, black vs white
Paint Type: Use a high-quality 100% acrylic latex paint specifically designed for interior use. Acrylic paints are durable, flexible, and easy to clean up.
Sheen: A flat or matte finish is highly recommended. These finishes absorb light, which helps the exposed elements recede and hides imperfections. Higher sheens would reflect light and highlight every pipe and wire.
Color Choice:
Black/Dark Gray/Deep Navy: These are the most common and effective choices for open basement ceilings. They make the visual clutter disappear, create depth, and offer an industrial or cozy feel.
White: While white can brighten a basement, it will make all the exposed elements stand out distinctly, rather than hiding them. It's usually chosen if you want to emphasize the industrial look and ensure everything is visible.
Color Matching: Consider the color of your walls and overall basement aesthetic.
Application: spraying vs rolling, multiple coats
Spraying (Recommended):
Technique: Follow the sprayer manufacturer's instructions for thinning paint and pressure settings. Maintain a consistent distance from the surface and use overlapping passes for even coverage.
Work in Sections: Work systematically, focusing on a section at a time.
Prime (Optional): If you have any bare metal pipes or new wood, a universal primer can improve adhesion and prevent rust, though many 100% acrylic paints have good direct-to-surface adhesion.
Rolling (Less Ideal but Possible):
If you must roll, use a very long-nap roller (e.g., 3/4" or 1") to get into crevices. This will be very messy and time-consuming. You'll still need brushes for pipes and wires.
Multiple Coats: You'll likely need at least two coats for uniform coverage, especially if painting a dark color over mixed materials. Allow adequate drying time between coats as per paint instructions.
Maintenance tips & future updates
Cleaning: Dust your painted basement ceiling periodically with a long-handled duster or vacuum attachment to prevent dust buildup.
Touch-Ups: Keep leftover paint for touch-ups. If any new pipes or wires are installed, they can be easily painted to match.
Future Updates: If you decide to finish the basement ceiling later, the painted exposed elements can be drywalled or tiled over. The unified dark color often provides a good base for future design changes.
Painting an open basement ceiling is a significant undertaking, but the transformation from a messy, utilitarian space to a sleek, finished-looking area is well worth the effort.

About Masterpiece Painter
For over 17 years Masterpiece Painter, has been serving communities all around New England. Let us help you make your wishes come true by turning your property into a Masterpiece
Get a Quote
Contact Us


© copyright 2023 All Rights Reserved.