
Blogs
Pro Tips for Painting Crown Molding – Prep, Tools & Finish
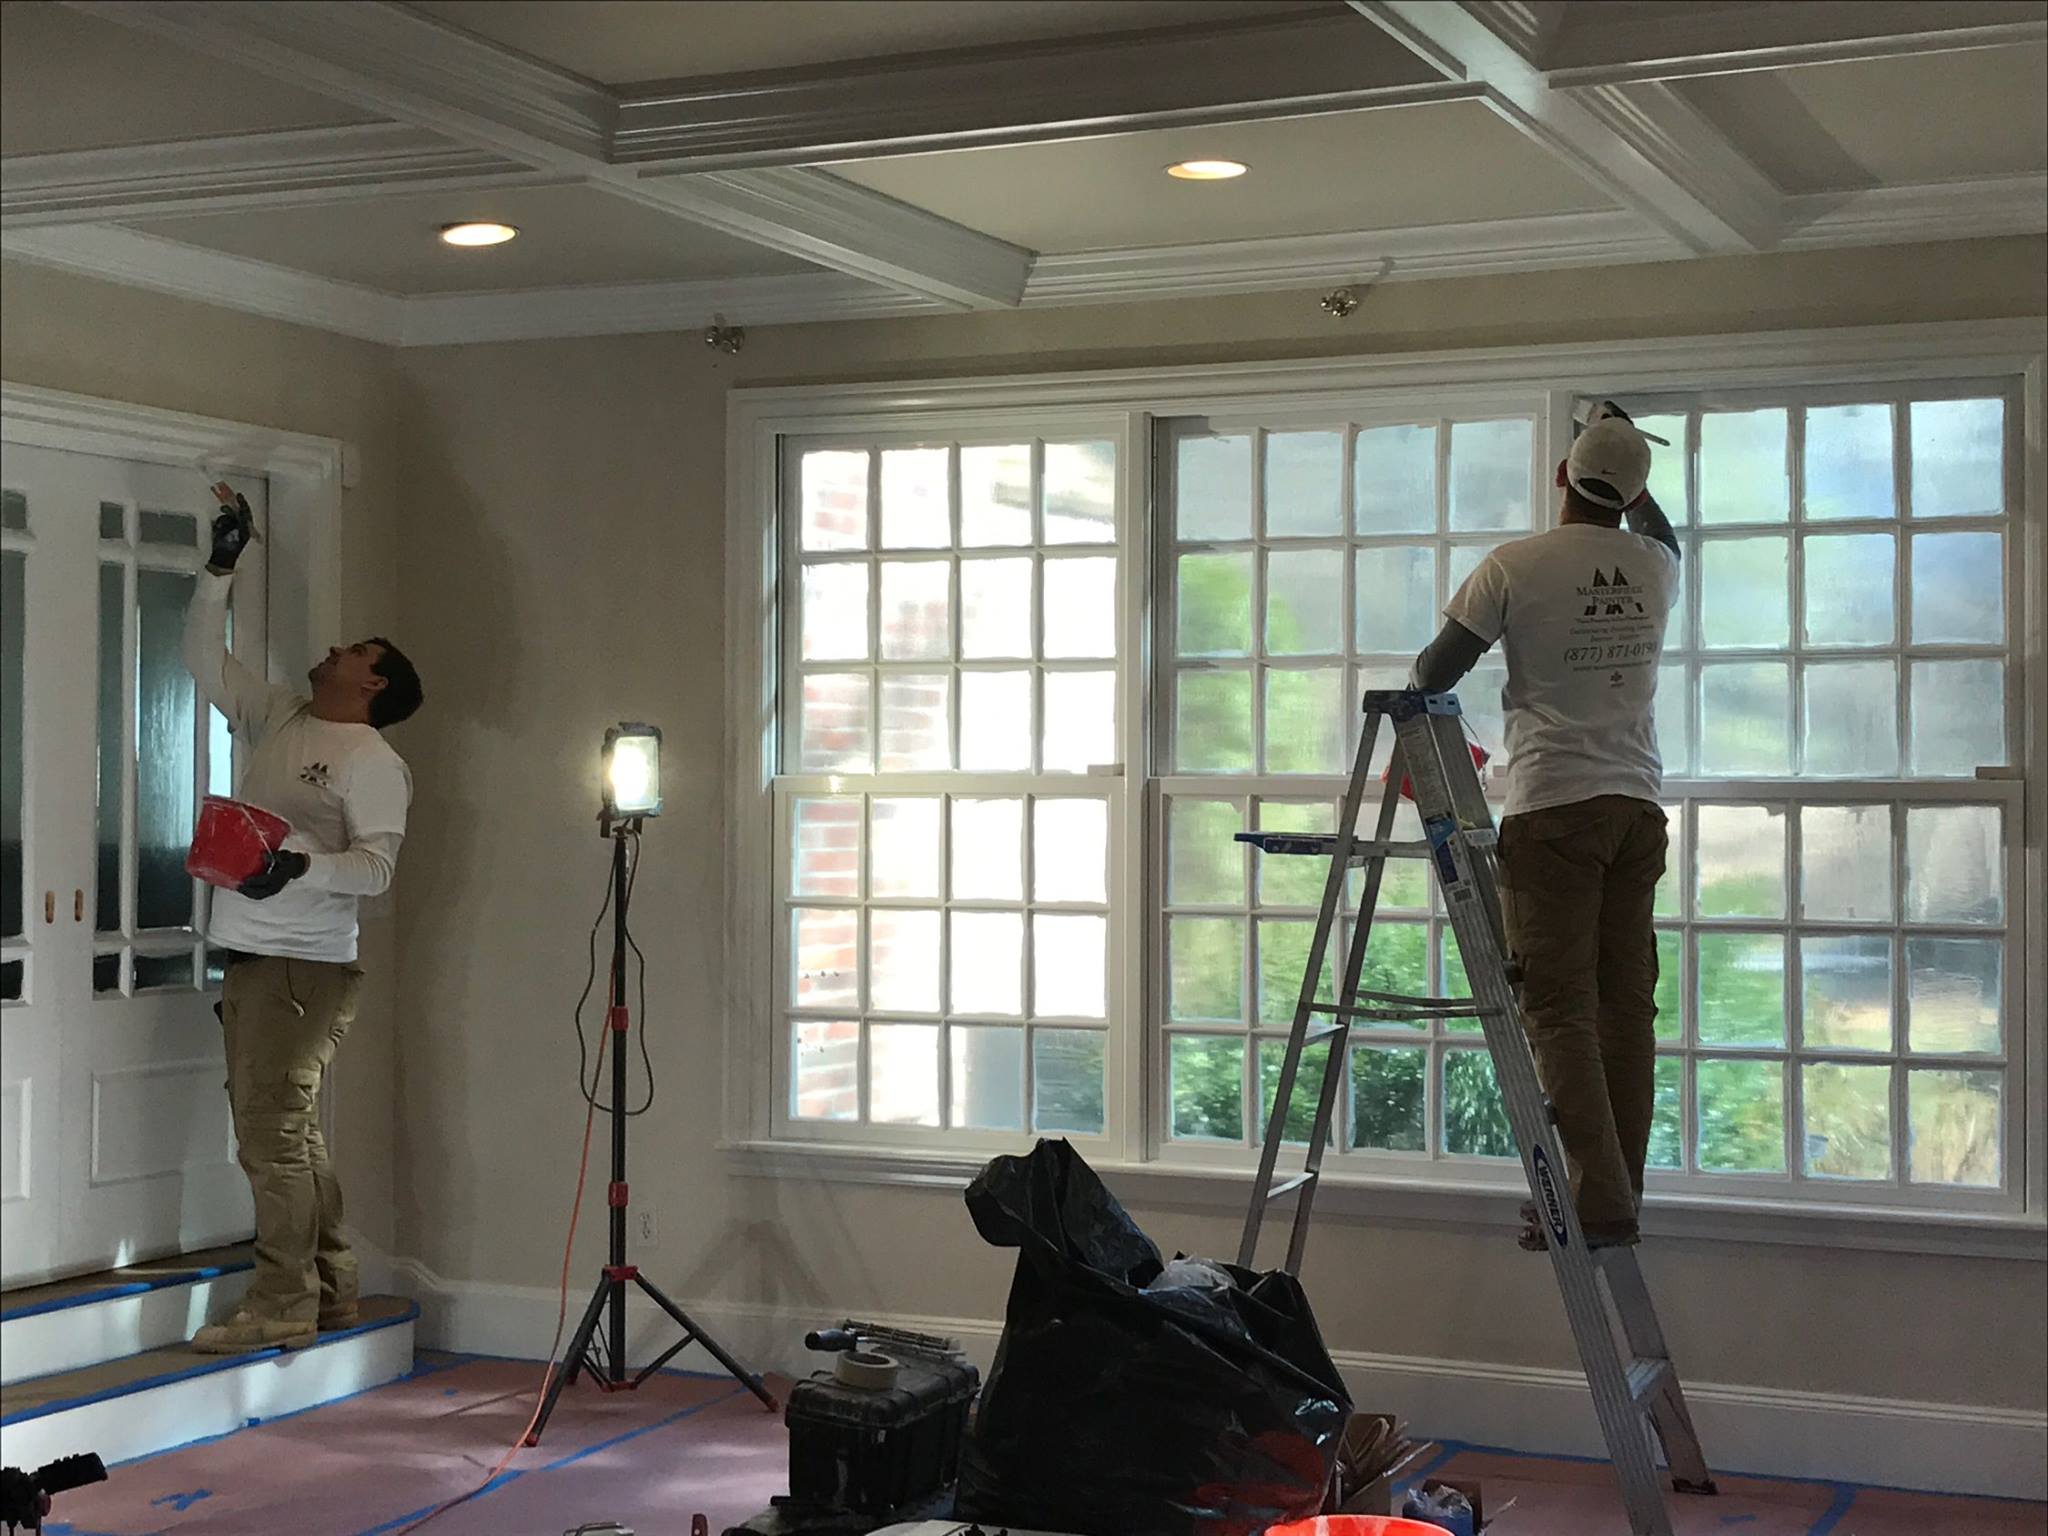
Crown molding adds undeniable elegance and a finishing touch to any room. Its intricate profiles and placement at the wall-ceiling junction demand precision and a keen eye to truly shine. While it might seem daunting, learning how to paint crown molding like a pro is an achievable skill that elevates your home's aesthetic. It's not just about applying paint; it's about meticulous preparation, strategic tool use, and mastering techniques that result in crisp lines and a smooth, flawless finish that looks like it was done by a seasoned expert.
Prepping vs. Pre-primed molding
The starting condition of your crown molding dictates the necessary preparation. Pros understand that proper prep is non-negotiable for a lasting, high-quality finish.
Prepping Unfinished (Raw) Molding:
Sanding: New, raw wood molding should always be sanded smooth with fine-grit sandpaper (180-220 grit) to remove any mill glaze, rough spots, or imperfections. Sand along the grain.
Dust Removal: Thoroughly wipe down with a tack cloth or damp microfiber cloth to remove all sanding dust.
Priming: A crucial step for raw wood. Use a high-quality interior wood primer. This seals the wood, prevents tannin bleed-through (especially with knotty wood), promotes excellent adhesion for the topcoat, and ensures uniform paint absorption. Apply one even coat and allow it to dry completely.
Caulking: Before or after priming (depending on caulk type and preference), apply a thin bead of paintable acrylic latex caulk to fill any gaps where the molding meets the wall or ceiling. Smooth immediately with a wet finger or caulk tool.
Spot Sanding (post-primer): Lightly sand any primed areas where wood grain has risen or repairs were made, then re-wipe.
Pre-Primed Molding:
Inspection: While pre-primed, these pieces often benefit from a light once-over. Inspect for any scuffs, dings, or areas where the factory primer might be thin.
Light Sanding: A very light scuff-sand with fine-grit sandpaper is often recommended to create better adhesion for the topcoat, especially if the primer feels overly smooth or slick.
Dust Removal: Wipe away all dust.
Caulking & Repair: Address any nail holes, imperfections, or gaps with painter's putty/wood filler and caulk. Allow to dry and sand as needed.
Spot Priming: If you've done significant repairs or sanded through the factory primer, spot prime those specific areas for uniform absorption.
Pro Tip: Even for pre-primed molding, a full coat of a high-quality bonding primer can sometimes be beneficial, especially if the factory primer feels chalky or inconsistent, or if you're making a drastic color change.
Matching paint sheen with adjacent surfaces
The paint sheen you choose for crown molding significantly impacts its appearance and interaction with the walls and ceiling. Pros carefully consider these relationships.
Crown Molding Sheen:
Semi-Gloss or Satin: These are the standard professional choices for crown molding.
Semi-Gloss: Offers a noticeable shine, is highly durable, and very easy to clean. It highlights the molding's profile and creates a crisp contrast, especially against a flatter wall or ceiling.
Satin: Provides a softer, more subtle luster than semi-gloss. It's still very durable and washable but less reflective, offering a gentler transition.
Matching Trim (Most Common Pro Approach):
Pros almost always paint crown molding the same sheen (and color) as other trim elements (baseboards, door casings, window frames). This creates a cohesive, high-end look throughout the room.
Contrast with Walls and Ceiling:
Often, pros will use a lower sheen (like flat, matte, or eggshell) on the walls and ceiling than on the molding. This contrast in sheen accentuates the crown molding, making it pop and emphasizing its architectural detail.
For a subtle contemporary look, a pro might use the same color as the wall but a higher sheen on the crown molding (e.g., wall in eggshell, crown in satin of the same color). This creates textural interest without a color break.
Pro Tip: High-quality paints in higher sheens provide a harder, more resilient surface that resists scuffs, fingerprints, and moisture, making them ideal for high-contact areas like trim.
Brush vs. Roller: Which works best
For crown molding, the brush is king for achieving a professional finish.
Brush (The Pro's Choice):
Why: An angled sash brush (2-2.5 inches) is indispensable. Its angled bristles allow for precise "cutting in" (painting a straight line without tape) along the ceiling and wall junctions. The brush provides better control for painting intricate profiles and achieving a smooth, even coat without drips.
Technique: Load the brush with a moderate amount of paint (about 1/3 of the bristles). Use long, even strokes, allowing the bristles to flex and smoothly deposit paint into the molding's curves. Overlapping strokes slightly maintains a wet edge and prevents lap marks.
Roller (Generally Not Recommended for Crown Molding):
Why Not: Rollers, even small ones, are difficult to maneuver on the narrow, profiled surface of crown molding without hitting the adjacent wall or ceiling. They also tend to apply too much paint, leading to drips and an uneven finish on intricate details.
Limited Use: A pro might rarely use a very small, high-density foam roller on a very wide, flat section of crown molding, but even then, they'd likely follow up with a brush for edges and details.
Pro Tip: High-quality synthetic brushes for water-based paints are a worthwhile investment. They hold more paint, release it more smoothly, and clean up better, leading to superior results.
Cutting in and caulking edges
Achieving sharp, clean lines and seamless transitions is the hallmark of a professional crown molding paint job.
Caulking for Seamlessness:
Pro Method: After initial prep, pros use paintable acrylic latex caulk to fill all gaps between the molding and the wall, and the molding and the ceiling.
Application: Cut the caulk tube tip at a 45-degree angle, making a small opening. Apply a continuous, even bead along the joint.
Smoothing: Immediately smooth the caulk with a wet finger, a damp sponge, or a caulk tool. Wipe away excess. This step literally "fills" the imperfections, creating a perfectly smooth, ready-to-paint line.
Cutting In (Painting Without Tape):
The Skill: True pros often paint crown molding without using painter's tape, relying on their steady hand and skill.
Technique: Load your angled sash brush and "float" the bristles along the edge of the molding where it meets the ceiling/wall. Maintain light, consistent pressure and use your non-painting hand to brace your painting arm for stability. Practice on scrap wood or in a less visible area first.
Why Pros Prefer No Tape (Often): No tape means no risk of bleed-through, no sticky residue, and no paint pulling when the tape is removed. It's faster for experienced hands.
Using Painter's Tape (For Precision and Less Experienced Painters):
Pro Method: If using tape, apply it meticulously. Ensure the tape forms a perfectly straight line along the adjacent surface. Press down firmly along the edge with a putty knife or fingernail to create a tight seal.
Removal: Remove the tape while the last coat of paint is still wet. This prevents paint from drying onto the tape and peeling off with it, ensuring a crisp line. Pull at a 45-degree angle.
Pro Tip: Good lighting is crucial for cutting in. Use a bright work light to illuminate the edges and spot any imperfections or wobbles immediately.
Clean-up and maintenance
Proper clean-up and ongoing maintenance keep your tools in top shape and your crown molding looking pristine.
Immediate Tool Clean-Up:
Brushes: For water-based paints, rinse brushes thoroughly with warm water and mild soap until all paint is removed. Squeeze out excess water, reshape the bristles, and store by hanging or laying flat. Proper cleaning extends brush life significantly.
Caulk Gun: Clean the nozzle immediately and seal the tube to prevent hardening.
Post-Paint Clean-Up:
Carefully remove drop cloths, checking for any drips or splatters.
Wipe down any accidental paint drips on adjacent surfaces immediately with a damp cloth before they dry.
Ongoing Maintenance:
Dust Regularly: Crown molding can accumulate dust and cobwebs. Include it in your regular dusting routine using a soft cloth or a duster with an extension pole.
Spot Clean: For scuffs or smudges, gently wipe with a damp cloth and mild soap. The durability of satin or semi-gloss paint makes this easy.
Touch-Ups: Keep a small amount of leftover paint (properly labeled and stored) for touch-ups. Small nicks are inevitable, and a quick touch-up keeps the finish flawless.
Painting crown molding like a pro requires attention to detail at every stage, from meticulous preparation to precise application. By understanding the nuances of surface conditions, sheen choices, and mastering the right techniques for cutting in and caulking, you can achieve a finish that truly enhances your home's elegance and stands as a testament to quality craftsmanship. If you're looking for expert results without the effort, Masterpiece Painter is ready to deliver a flawless, professional finish for all your interior painting needs.
Ready to see your crown molding shine? Contact Masterpiece Painter today for a consultation and transform your space!

About Masterpiece Painter
For over 17 years Masterpiece Painter, has been serving communities all around New England. Let us help you make your wishes come true by turning your property into a Masterpiece
Get a Quote
Contact Us


© copyright 2023 All Rights Reserved.