
Blogs
How to Paint a Door and Frame? DIY & Pro Tips
A fresh coat of paint on your doors and frames can dramatically enhance the look and feel of any room, adding a crisp, clean, or even bold new aesthetic. While it might seem like a simple task, achieving a smooth, durable finish with crisp, clean edges requires careful preparation and proper technique. This step-by-step guide will walk you through everything you need to know to paint your doors and frames like a professional.
Tools and supplies you’ll need
Before you begin, gather all your materials. Having everything on hand will make the process much smoother.
Cleaning Supplies:
Mild detergent or TSP (trisodium phosphate) substitute
Clean rags or sponges
Buckets of warm water
Sanding Tools:
Sanding sponges or fine-grit sandpaper (180−220 grit)
Optional: Electric sander for large, flat doors (use fine-grit pads)
Tack cloth or damp cloth for dust removal
Protection:
Drop cloths or old sheets
Painter’s tape (blue or green low-tack for sensitive surfaces)
Safety glasses and gloves
Optional: Respirator if working with strong fumes
Paint Application:
High-quality synthetic brushes (angled sash brush for cutting in, flat brush for larger areas)
Small foam roller or -inch (approx. 10 cm) roller with a fine-nap cover (for smooth surfaces)
Paint tray or container
Primer:
High-quality interior primer (water-based for most scenarios, stain-blocking for specific needs)
Paint:
High-quality interior paint (semi-gloss or satin enamel recommended for durability)
Preferred color
Miscellaneous:
Screwdriver for removing hardware
Wood putty or spackle (for minor repairs)
Putty knife
Caulk gun and paintable caulk (for sealing gaps between frame and wall)
Step 1 – Prepare and sand the surface
Thorough preparation is the most critical step for a professional-looking and long-lasting paint job. Do not rush this stage.
Remove Hardware: Use a screwdriver to carefully remove all door knobs, hinges, strike plates, and any other hardware from both the door and the frame. Place small parts in a labeled bag to avoid losing them.
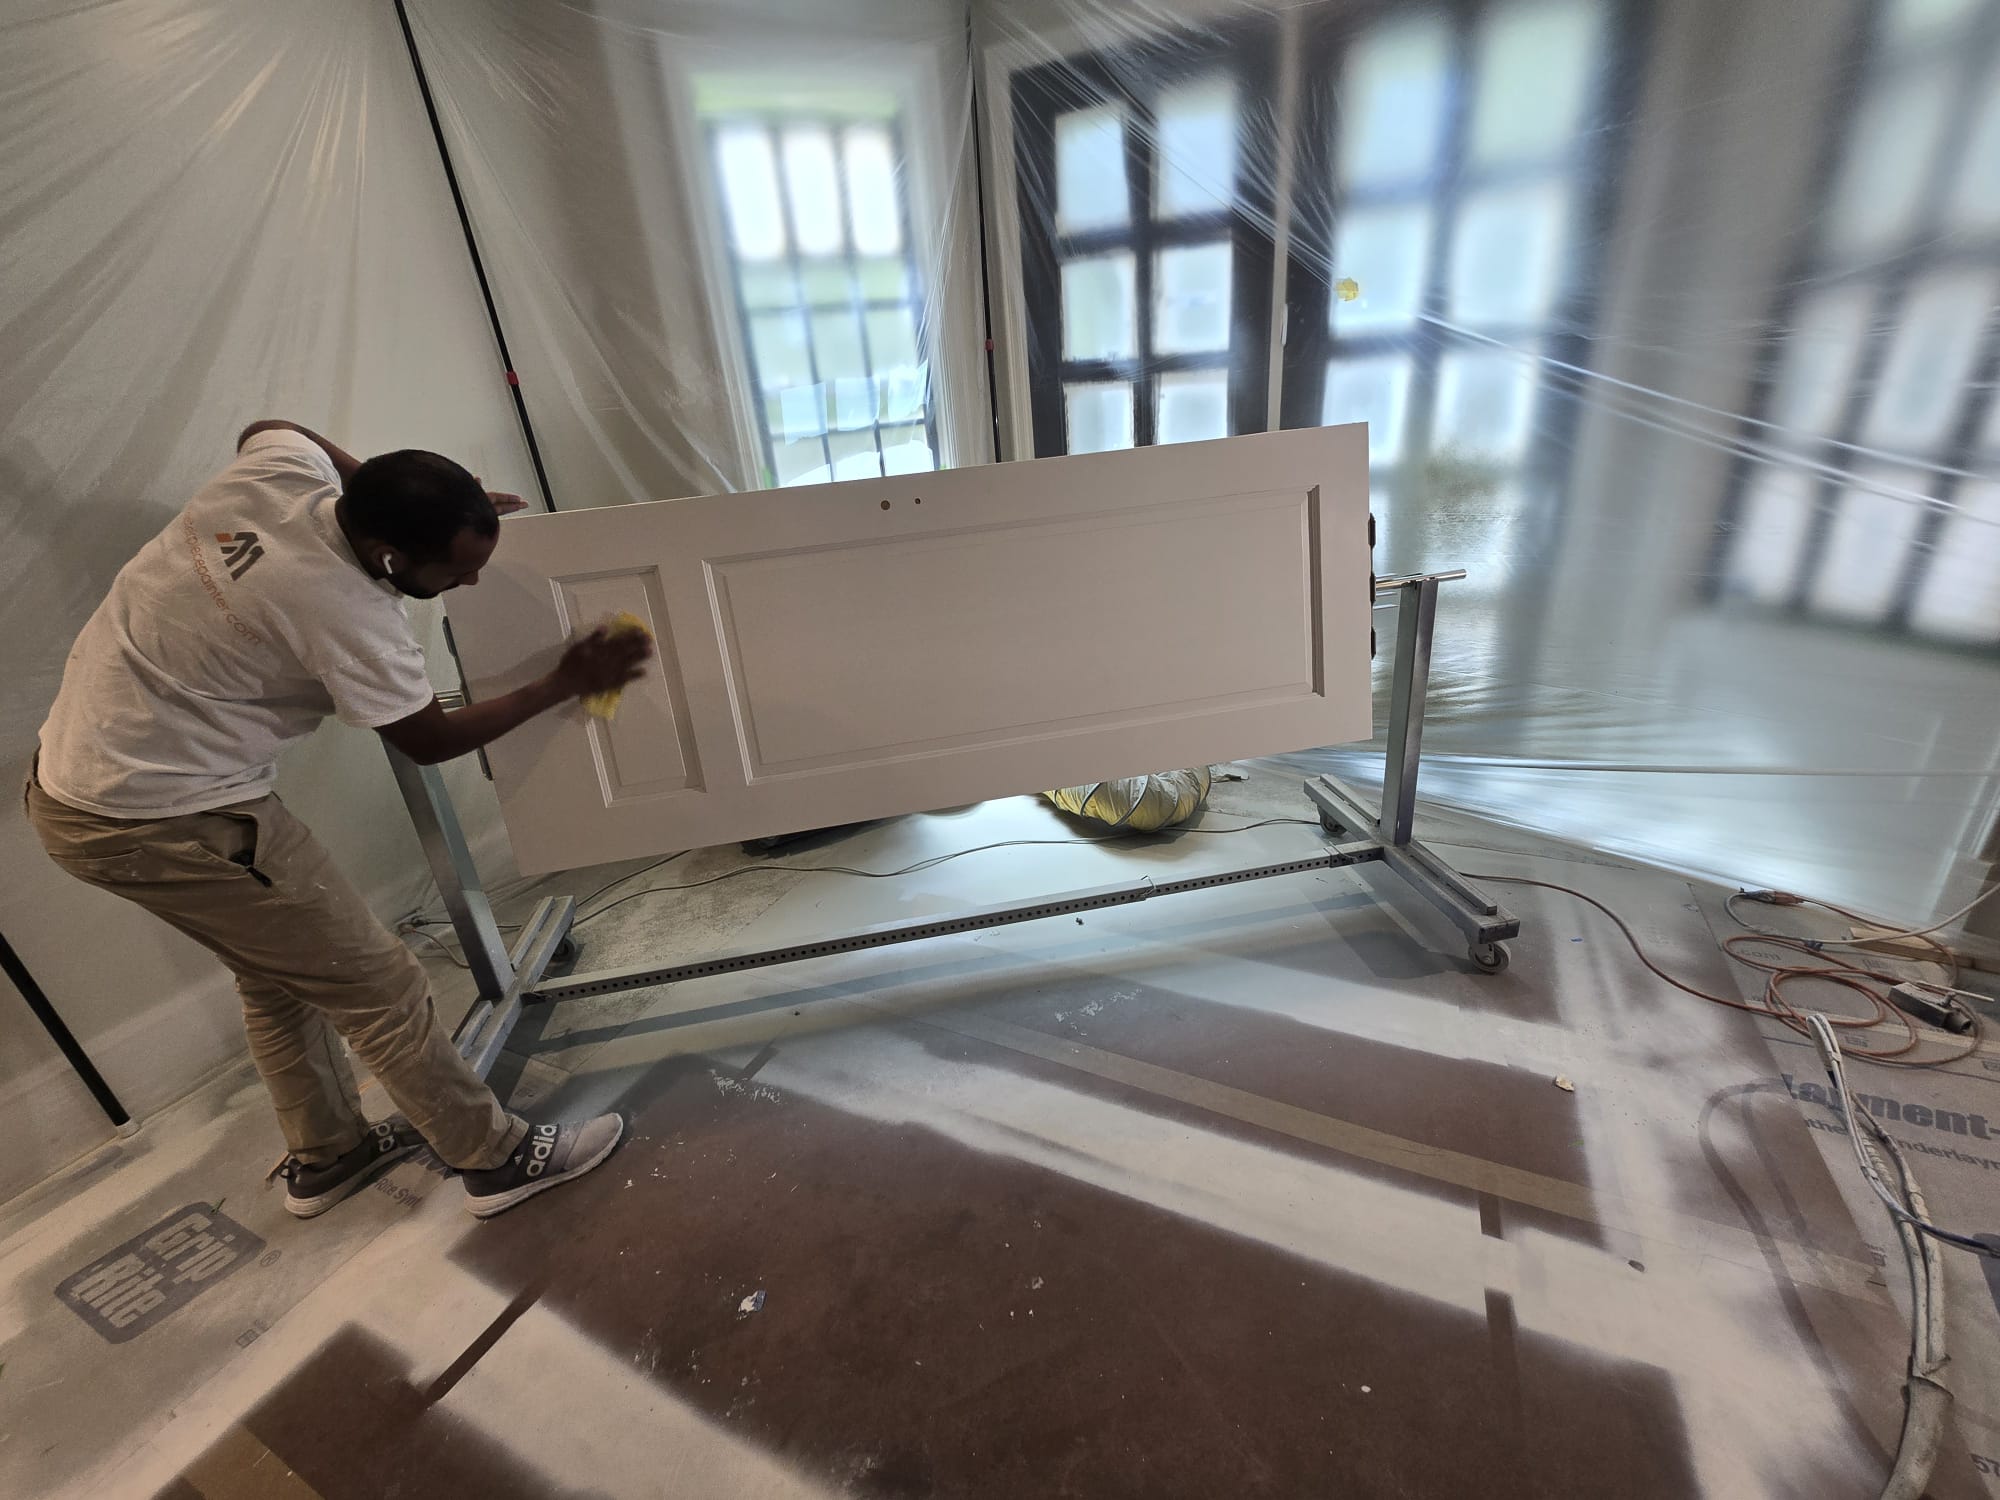
Clean the Door and Frame: Mix a mild detergent or TSP substitute with warm water. Using a clean rag or sponge, thoroughly wash down the entire door and frame, removing all dirt, grease, and grime. Rinse completely with clean water and allow to dry fully. Any residue will prevent paint adhesion.
Inspect for Imperfections: Examine the door and frame for any dents, holes, or cracks.
Fill Holes/Dents: Use wood putty or spackle to fill in any imperfections. Apply with a putty knife, allowing it to dry completely as per product instructions.
Caulk Gaps (Frame): If there are any gaps between the door frame and the wall, apply a thin bead of paintable caulk. Smooth it with a wet finger or caulk tool, then wipe away excess immediately. Let it dry completely.
Sand the Surface:
Lightly Sand: Using fine-grit sandpaper (180−220 grit) or a sanding sponge, lightly sand all surfaces of the door and frame. The goal is not to remove the old paint entirely, but to de-gloss the surface and create a "tooth" for the new paint to adhere to. For previously painted or lacquered surfaces, this is crucial for adhesion.
Smooth Repairs: Pay extra attention to any areas you filled with putty, ensuring they are perfectly smooth and flush with the surrounding surface.
Clean Dust: After sanding, thoroughly wipe down all surfaces with a tack cloth or a slightly damp (not wet) microfiber cloth to remove all sanding dust. Dust will create a bumpy finish. Let it dry completely.
Protect the Area: Lay down drop cloths on the floor beneath the door and frame. Use painter's tape to mask off any areas you don't want to get paint on, such as the walls adjacent to the frame, the floor, and any glass inserts on the door. Press the tape firmly to create a crisp edge.
Step 2 – Apply primer for better adhesion
Priming creates a uniform base, promotes adhesion, and helps block stains, ensuring your topcoat looks its best and lasts longer.
Choose the Right Primer:
Water-Based (Acrylic) Primer: Best for most interior doors and frames. Dries quickly, low odor, and easy cleanup.
Stain-Blocking Primer (e.g., shellac-based or oil-based): Use if painting over a dark color, wood with tannins that might bleed through, or if there are existing stains on the surface. These have stronger fumes, so ensure good ventilation.
Apply Primer to the Door:
If the door is still attached, consider removing it and laying it flat on sawhorses. This helps prevent drips and allows for a smoother finish.
Use a high-quality synthetic brush for detailed areas (panels, edges) and a foam roller for flat surfaces.
Apply one thin, even coat of primer. Avoid over-applying, which can lead to drips.
Follow the manufacturer's instructions for drying time.
Apply Primer to the Frame:
Carefully apply one thin, even coat of primer to the entire door frame. Use an angled brush for cutting in along the taped edges and a small foam roller for the wider, flat surfaces.
Ensure consistent coverage without drips.
Allow the primer to dry completely according to the manufacturer's instructions.
Light Sand (Optional): Once dry, lightly sand the primed surfaces with very fine-grit sandpaper (320−400 grit) to smooth out any minor imperfections or brush marks. Wipe away all dust with a tack cloth.
Step 3 – Paint the door for a smooth finish
For the most durable finish, use a high-quality interior enamel paint in a semi-gloss or satin sheen. These are resistant to scuffs and easy to clean.
Mix Paint: Stir your paint thoroughly before and during use to ensure consistent color and sheen.
Paint the Door (Order Matters): If the door has recessed panels, paint them first.
Panels: Use a brush to paint the inside of any recessed panels, working from the inside out to avoid getting paint on the stiles and rails.
Mullions/Dividers: Next, paint any horizontal or vertical mullions (the raised strips separating panels).
Horizontal Rails: Paint the horizontal sections of the door (rails).
Vertical Stiles: Finish by painting the vertical sections (stiles) from top to bottom.
Edges: Paint the top, bottom, and side edges of the door.
Apply Thin Coats: Apply two to three thin, even coats of paint. Thin coats dry faster, reduce drips, and create a harder, more durable finish.
Use Brush and Roller: Use your angled brush for detailed areas and a foam roller for flat surfaces to achieve a smooth, even finish with minimal brush strokes. "Tip off" roller-applied areas with a light pass of your brush to further eliminate texture.
Allow Proper Drying Time: Allow each coat to dry completely according to the paint manufacturer's instructions before applying the next coat. Rushing this step can lead to peeling or an uneven finish.
Step 4 – Paint the frame without overlapping
Painting the frame requires precision to ensure crisp lines against the wall.
Start from the Top: Begin painting the frame at the top, working your way down. This helps catch any drips before they dry.
Cut In with a Brush: Use your angled sash brush for "cutting in" along the edges where the frame meets the wall. Load the brush with a moderate amount of paint, and carefully run it along the painter's tape or freehand it if you have a steady hand.
Fill In with Roller: For the wider, flat sections of the frame, use a small foam roller to apply the paint evenly.
Apply Thin Coats: Similar to the door, apply two thin, even coats of paint to the frame, allowing ample drying time between coats.
Remove Tape Promptly: Once the final coat of paint is dry to the touch but before it has fully cured and hardened (usually within an hour or two), carefully peel off the painter's tape at a 45-degree angle. If you wait too long, the paint can bond to the tape and peel off with it, or create jagged edges. If the paint feels tacky, use a utility knife to lightly score along the edge of the tape before peeling to prevent tearing.
Reinstall Hardware: Once the paint on both the door and frame is fully cured (which can take several days to a few weeks, refer to paint label), carefully reattach all hardware.
Pro tips for crisp, clean edges
Achieving sharp, professional-looking edges elevates the entire paint job.
High-Quality Painter's Tape: Invest in good quality painter's tape. It makes a significant difference in preventing bleed-through. Apply it precisely, pressing down firmly along the edge with your finger or a putty knife to ensure a tight seal.
"Seal" the Tape Edge (Optional): For extra crisp lines, after applying painter's tape, paint a very thin coat of your base wall color (or primer if the wall isn't painted) along the edge of the tape. This seals any tiny gaps under the tape. Once dry, apply your door/frame paint. This prevents your door paint from bleeding under the tape.
Load Your Brush Correctly: Don't overload your brush. Dip about one-third of the bristles into the paint, tap off excess on the side of the can, and then apply. Too much paint leads to drips and less control.
"Feather" the Edges: When cutting in, make a light, controlled stroke with the brush along the edge. As you lift the brush, feather out the paint to blend seamlessly with the rolled areas, avoiding thick lines.
Keep a Wet Edge: Always try to work quickly enough to maintain a "wet edge" – meaning you are applying new paint into a section that is still wet. This prevents lap marks and ensures a smoother, more uniform finish.
Practice Your Brush Control: For freehand cutting in, practice makes perfect. Use a steady hand and breathe slowly as you guide the brush. Rest your non-painting hand on the wall for stability if needed.
Use a Caulk Line for Imperfect Gaps: If the gap between your door frame and the wall is uneven, making a straight tape line difficult, run a thin bead of paintable caulk along the entire joint before painting. Smooth it out, let it dry, and then tape over the caulk line. This creates a perfectly straight, paintable surface.
With these detailed steps and pro tips, you're well-equipped to give your doors and frames a stunning, professional-quality finish that will brighten your home for years to come.
Ready to transform your home with a fresh coat of paint? Visit your local hardware store today to pick up all the supplies and start your door painting project!

About Masterpiece Painter
For over 17 years Masterpiece Painter, has been serving communities all around New England. Let us help you make your wishes come true by turning your property into a Masterpiece
Get a Quote
Contact Us


© copyright 2023 All Rights Reserved.